
Deep Stone Crypt Raid Guide for Destiny 2
A complete guide to the Deep Stone Crypt raid for Bungie’s Destiny 2


Introduced in the Beyond Light expansion, the Deep Stone Crypt raid is made of many moving pieces. Without a fireteam with good communication, the crypt will turn from a raid to a burial under cold Europa. But, the rewards make the risks more than worthwhile.
To raid the Deep Stone Crypt, you must first find the crypt. Your fireteam’s search begins on Europa’s surface, during a blizzard. Along the surface are small bubbles of warmth that will ward off any frostbite you may contract out in the cold. And frostbite is a real danger. Your guardian will accumulate stacks of frostbite whenever they’re outside of one of these warming bubbles, and accumulating 10 stacks at a time will kill your guardian. After traveling from heat bubble to heat bubble, your fireteam will encounter one containing a Brig. Killing the Brig unlocks the door into the Deep Stone Crypt.
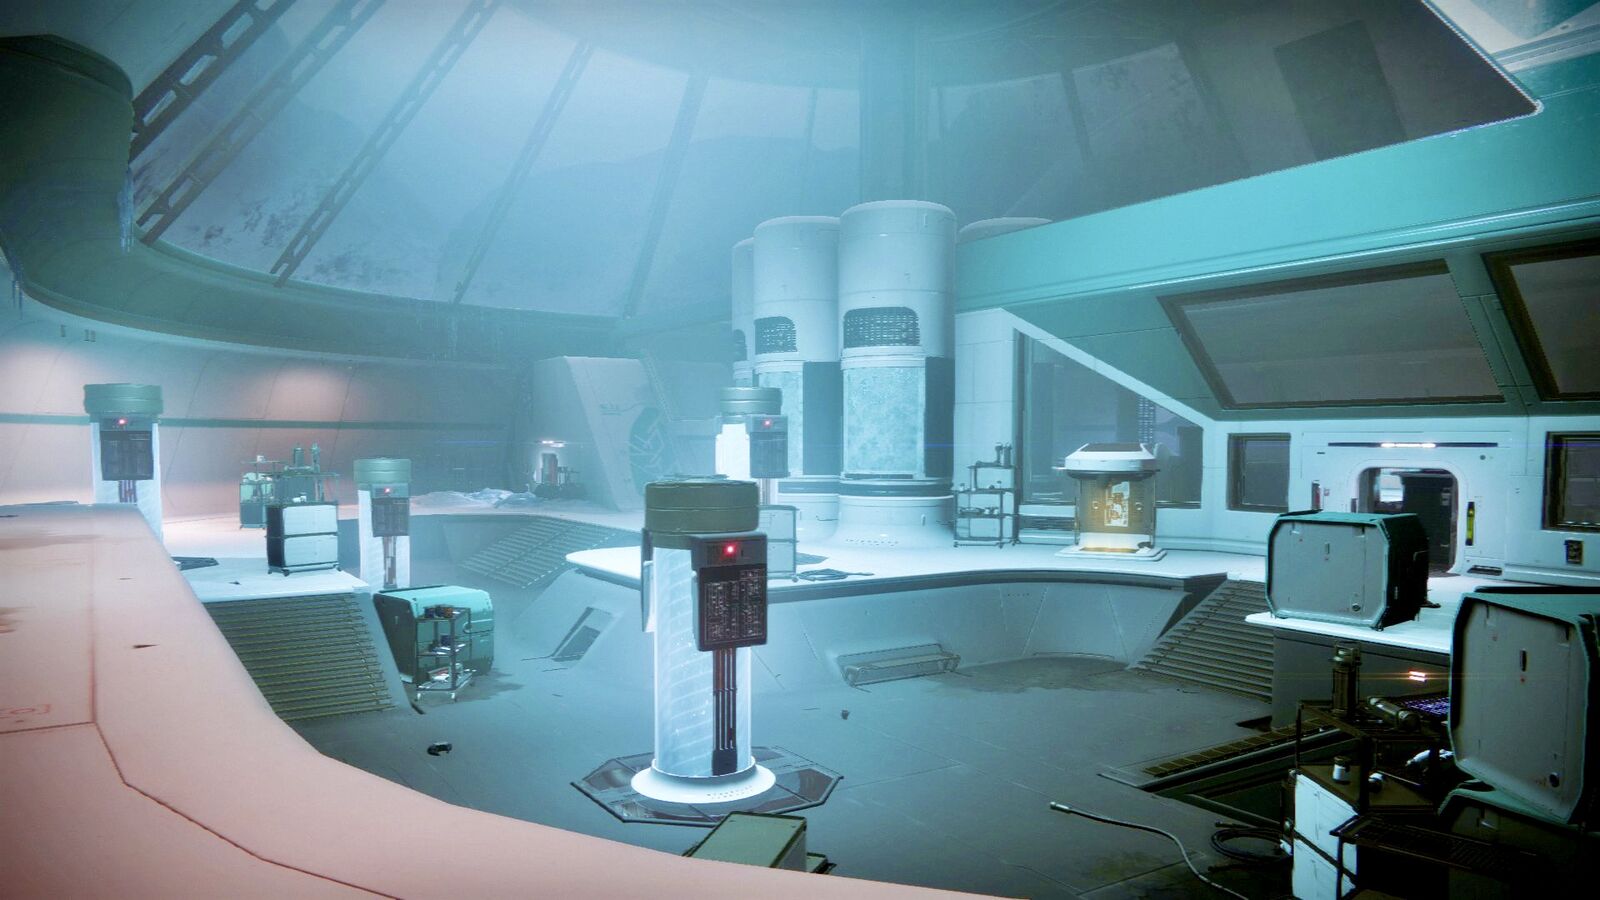
As you enter the Crypt proper, you’ll walk into the security room. The room is divided into 2 sides with 6 large fuses covered with bulletproof glass in the center, 3 on each side. One side is much brighter than the other. Beneath both sides is the basement, also split into light and dark. Scattered amongst the sections of the map are access points for the terminal system. The terminal system can hold one of three buffs specific to the raid to let your fireteam transfer the buffs throughout the encounter. Servitors will deactivate the terminal system until they’re killed. Depositing a buff into the terminal system allows a fireteam member to pick it up at any access point in the encounter.
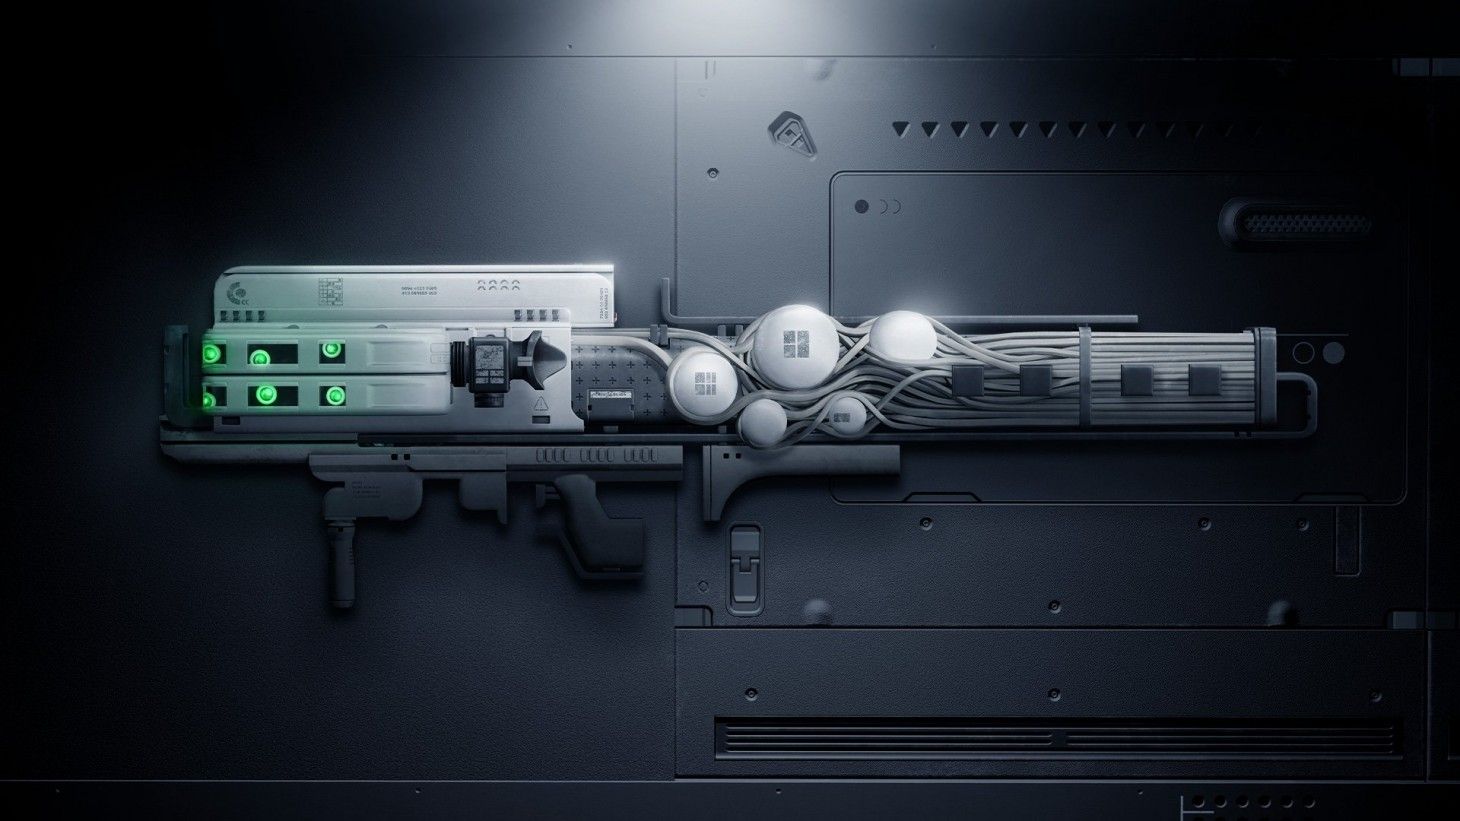
Two buffs are integral to this first encounter. The operator is a red buff that allows the holder to shoot datapads in order to interact with them. The scanner is a yellow buff that allows the holder to see mission-specific items or enemies highlighted in yellow. In order to get downstairs, a guardian will need to take the operator buff already in the terminal and shoot data pads to open up the way down.
The Scanner buff will be dropped upon killing a marked enemy on the dark side ground floor. Looking through windows on the floor will allow the scanner to see highlighted data pads the Operator needs to shoot to progress the encounter.
There are 4 marked data pads, 2 on the dark side and 2 on the light. Once all 4 are shot, the large fuses will become damageable, but they’ll need to be taken down in a certain order, only visible from the basement terminal access point using the scanner buff. On the terminal are 3 mini fuses in shadow, and three in light. 1 will glow at a time, indicating which is the next one to destroy. When the damage phase ends, just rinse and repeat until the 6 fuses are broken, and your fireteam can proceed.
Atraks-1 represents a large step up in difficulty in the raid, as might be expected when you need to periodically shoot yourself into space to successfully complete the boss fight. Upon starting the encounter, your fireteam will need to kill adds both on the ground and up in orbit. Eventually, this will cause servitors to spawn, in addition to enemies carrying the two buffs from the previous encounter. Your team will want to pick up the operator and scanner before killing all the servitors, as Atraks-1 and their many duplicate bodies will start a wipe mechanic. In order to stop the wipe, and do damage to Atraks-1 in the process, the scanner will need to determine the correct version to attack. During the first wipe attempt, it will always be a version space-side and will switch from earth to space after every attempt. Thankfully there is a terminal system in this encounter as well, allowing for easy transfer of buffs. After the correct Atraks-1 is located, attacking it will stop the wipe mechanic as well as deal damage to the Atraks-1 health bar.
When the version dies, it will drop a purple debuff called Atraks-1 replication. If it is not destroyed before the timer is up, it will create another Atraks-1 and instigate a team wipe. In order to destroy the debuff, it must be picked up, brought to an airlock, and shot into space. Airlocks are located in the space section of the map and can only be operated by the Operator. The operator can also shoot the debuff off of guardians, which serves many purposes. It can lock the debuff in the airlock for destruction, and shooting it off a guardian will reset the timer and allow for the transfer of the buff between guardians if needed. Airlocks can only be used once until refreshed. The encounter refresh happens after 4 Atraks-1’s are prevented from wiping. This causes more servitors to spawn in addition to the airlock refresh. Once all the servitors are once again dead, the wipe attempts begin again. Once Atraks-1 is down to their final health bar, all activity will be directed up in space. Kill as many of the instigating Atraks-1’s necessary to bring them to their knees, and the way forward will unlock.
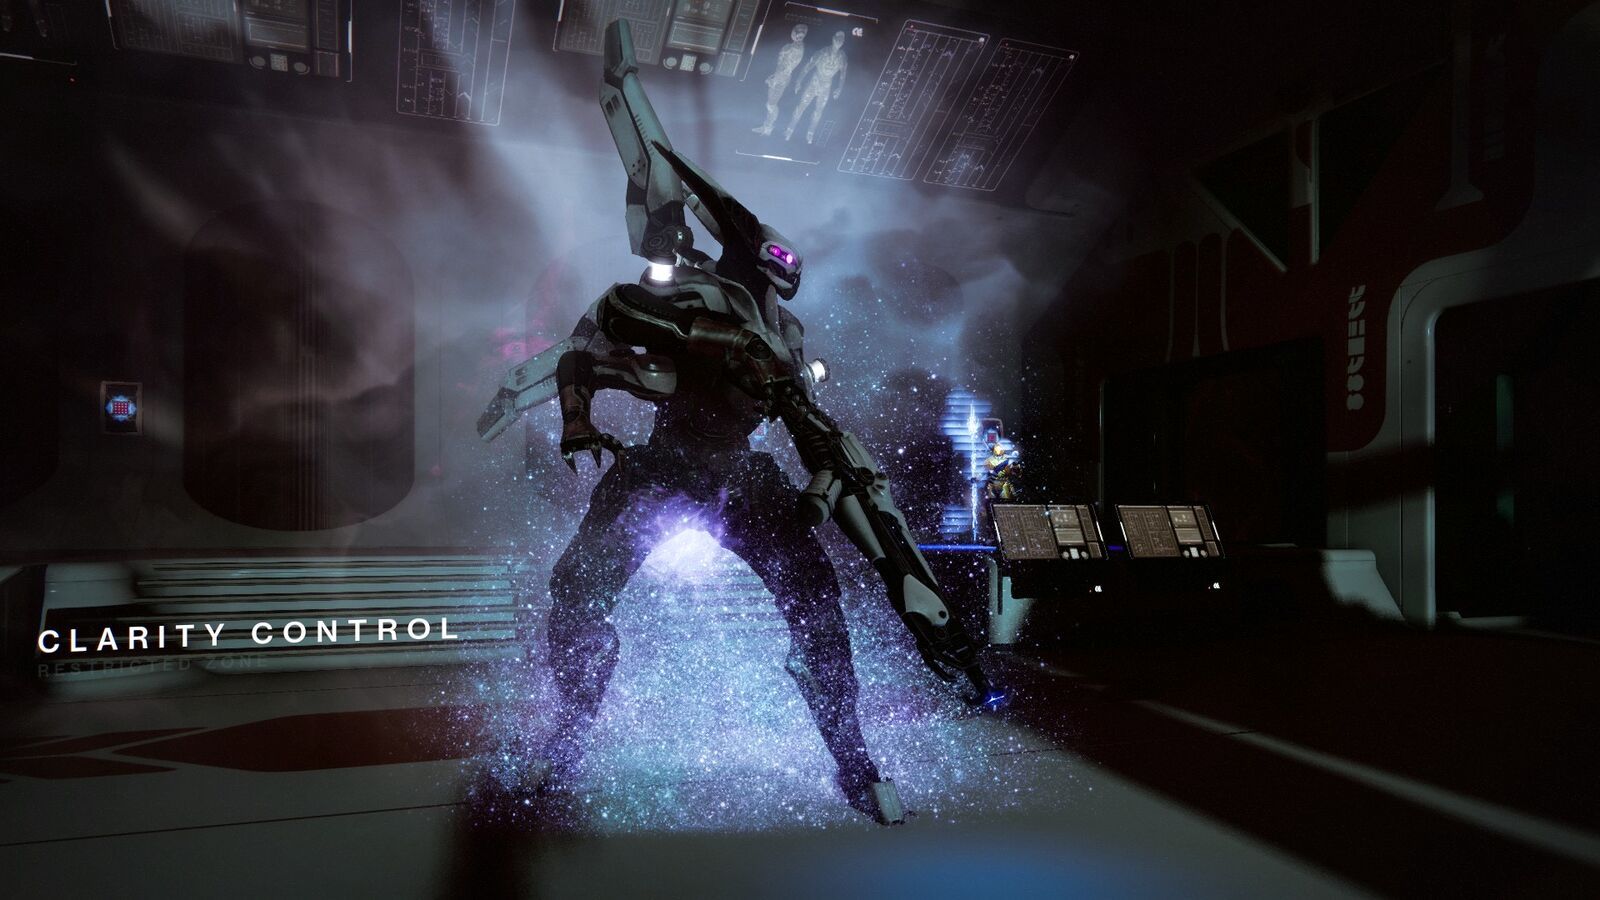
This next encounter makes use of a third buff, Suppressor, as well as the previous two. Unlike most encounters, destruction isn’t your goal, but rather your failure state, as your goal is to stop the destruction of Europa. After grabbing all 3 buffs from taken enemies, the plan is in motion. The operator can shoot data pads to reduce the number of nuclear bombs that will spawn from 3 to 2. Left alone, the bombs will obviously wipe the party, and a lot more. To stop the bombs, they must be deposited in the correct deposit boxes. In order to know which deposit boxes are correct, the scanner must check to see which are glowing.
In order to use the deposit boxes, Taniks will need to be stunned to unlock them. The suppressor can stun Taniks by shooting them while under each of three spherical security drones when they start glowing blue. After each shot, the drone will stop glowing and the suppressor will need to move to a different drone. Once all three have been used, the boxes unlock, and one of the guardians of the fireteam will have their buff deactivated, but it can still be transferred using the terminal system. After removing a buff, a guardian cannot pick up another for 45 seconds. The guardians that carry the core will gain stacks of Radiation, 10 of which will kill them, but which will wear off after they’re no longer directly exposed. Rinse and repeat bomb defusal until a hole in the floor opens up, at which point the fireteam can run through the newly accessible tunnel while being chased by Taniks, now the Abomination.
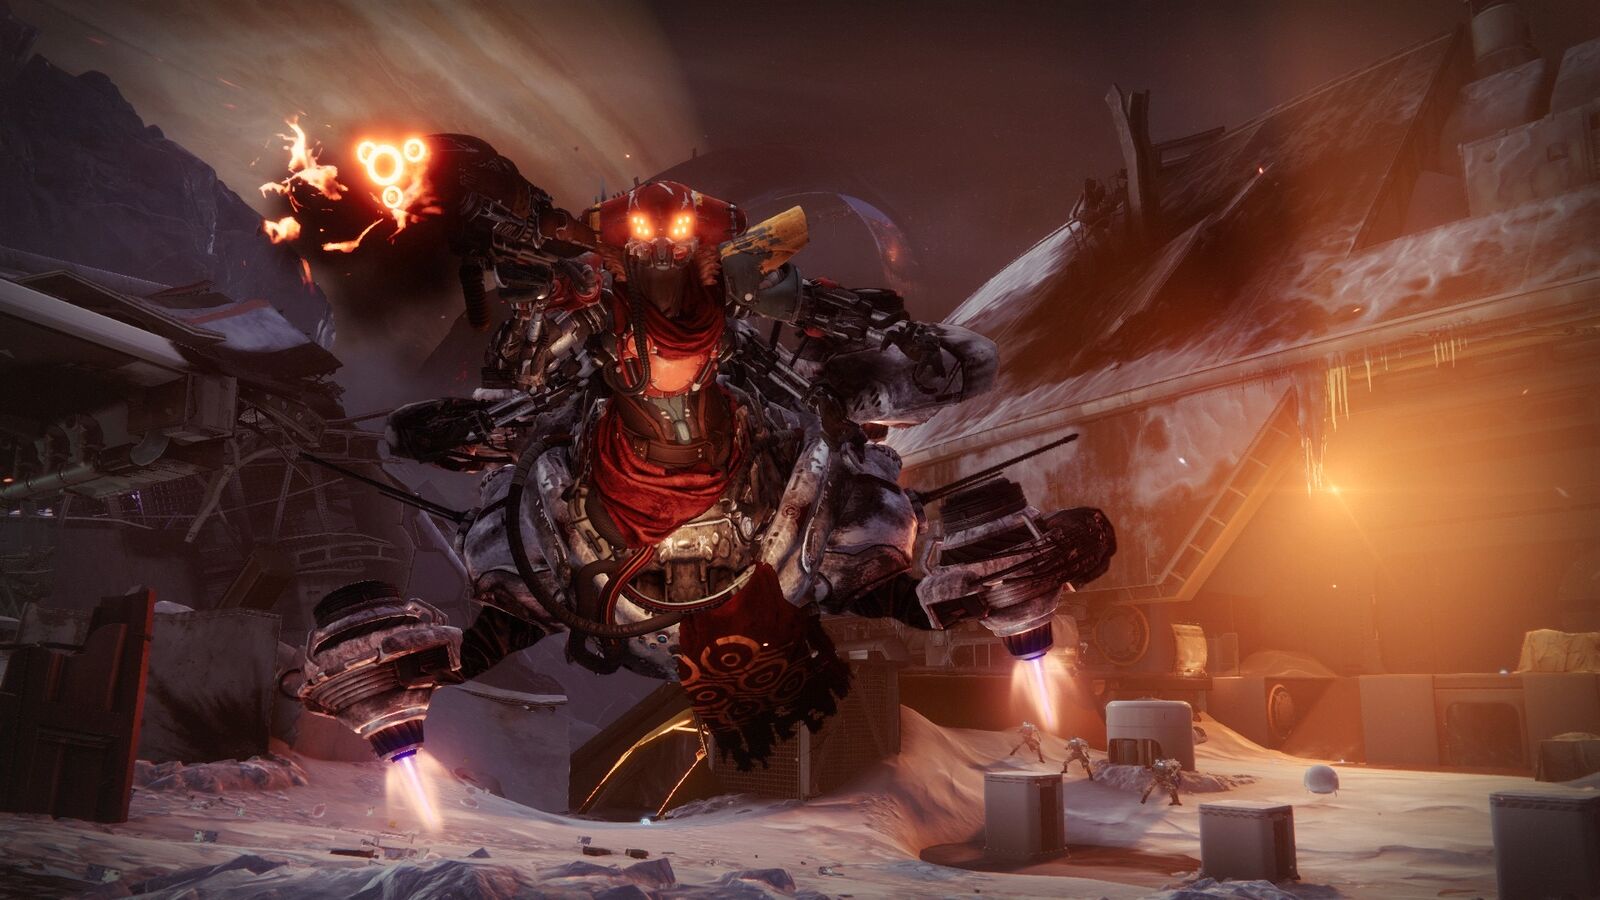
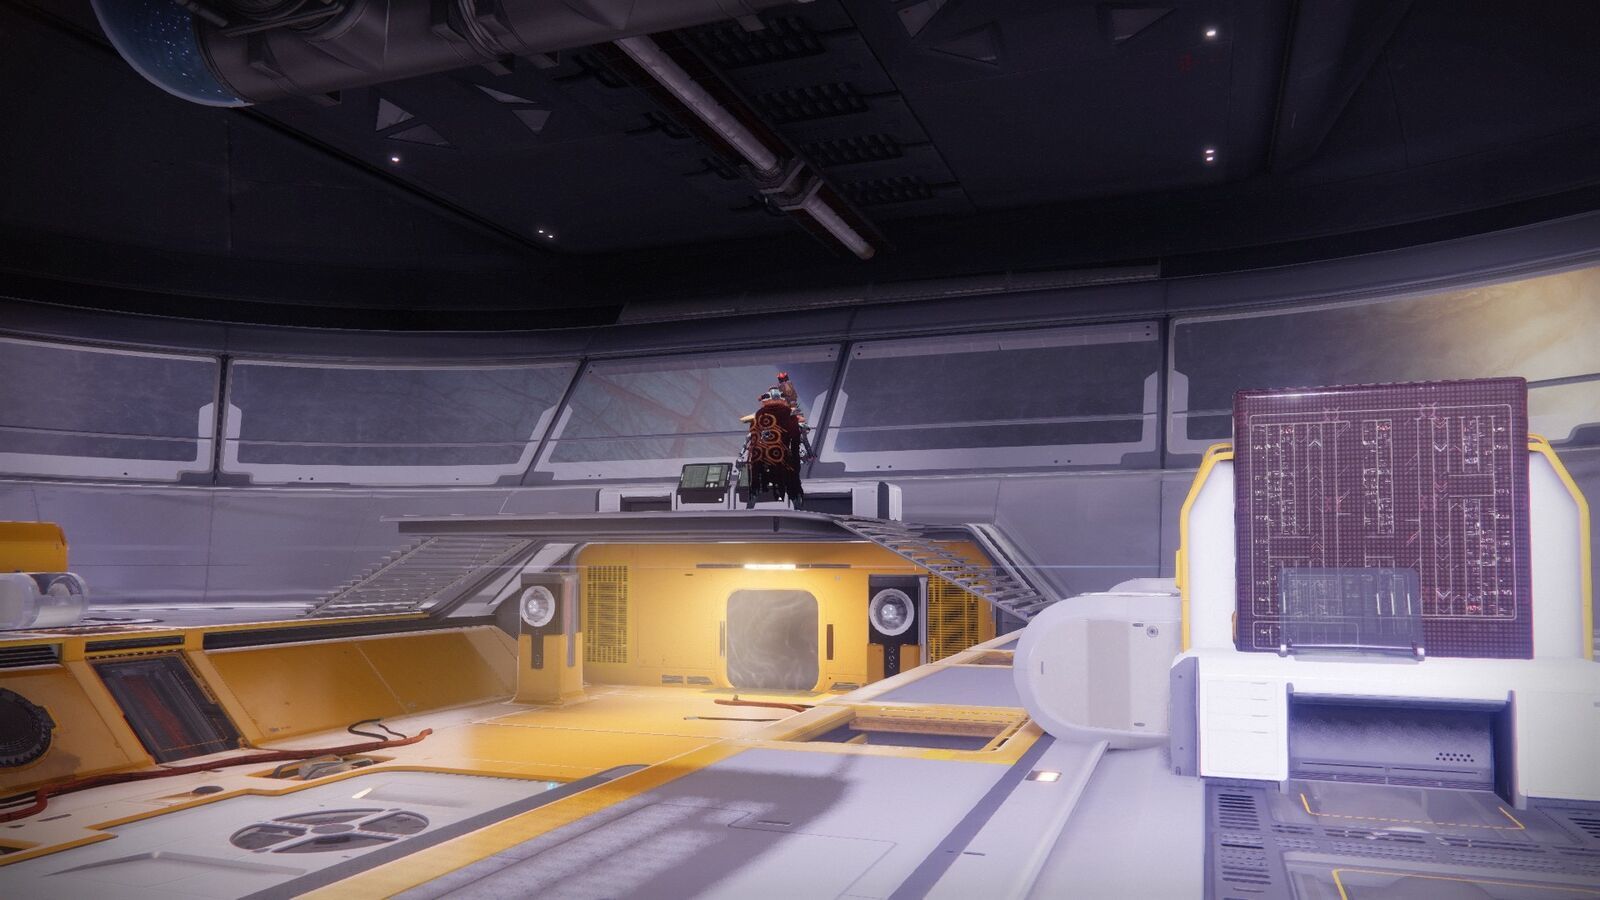
Shooting the junk pile will begin the final encounter against Taniks the Abomination. Taniks will emerge, start firing purple death laser AOEs, and fallen will swarm, including fallen carrying the three buffs. The scanner will need to look through the 6 disposal boxes to see which 2 are glowing yellow. When the 4 corners of Taniks’ rocket start glowing red hot, 2 nukes can be shot off of it. They act just the same as in the last encounter, but the distances are much farther, making the relay strategy practically a necessity.
As an additional wrinkle, Taniks will attempt to slow guardians down by encasing them in a purple bubble that can only be shot and destroyed by the operator. The boxes can once again only be accessed when Taniks is stunned, which happens in the exact same manner as the previous encounter, but again, an extra wrinkle is added in the form of multiple pairs of drones, only the glowing ones will allow you to stun Taniks, but which ones glow changes depending on where Taniks is. After they are stunned, the nukes can be dunked and disposed of. Repeat the process with the other two nukes, and the damage phase begins.
During the damage phase, Taniks will move to the middle of the map and a glowing circle will envelop them as a tornado whirls around them. Getting inside of the circle is necessary to do damage, but going too close to the middle or getting hit by the whirling debris will kill your guardian. In the middle of the damage phase Taniks will temporarily go immune, and hitting him during this will make him throw your guardian out of the circle. Rinse and repeat until the Abomination’s final damage phase, where they will teleport around the map, giving your fireteam everything they’ve got. Stand your ground until Taniks is no more, and claim all that was once theirs. Good luck guardians.