
Ghosts of the Deep Dungeon Guide
Everything you need to know about Destiny 2’s latest Dungeon, Ghosts of the Deep.


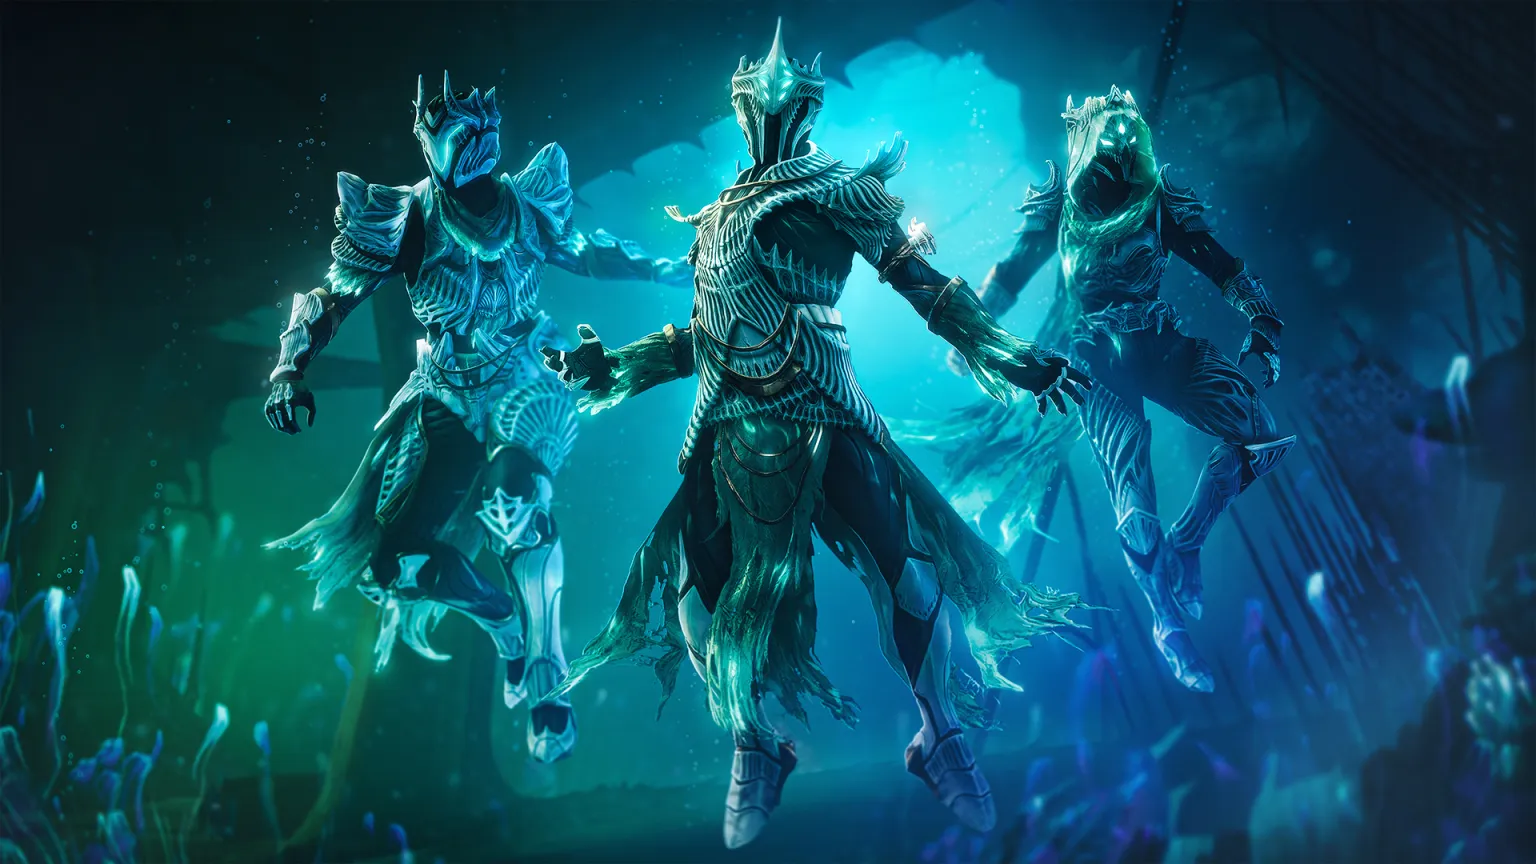
Destiny 2’s dungeon roster has expanded once again. Ghosts of the Deep is the newest dungeon in Destiny 2 and promises to be a fun time filled with Lucent Hive, Drowning, and Necromancy. However, in order to partake, you will require a Lightfall Dungeon key, which will allow your guardian to accept the mission ‘Rise’ from Hawthorne. So go forth Guardian, you’re not scared of ghosts, are you?
You and your fireteam will start the dungeon at the New Pacific Arcology. Your team will need to locate a ritual site encircled by multiple statues. Your team will spawn a fair distance away, so sparrows are recommended. Around the ritual site are several Hive Knights and an Ogre called the Soulfire Binder. Killing the Binder will reveal the way forward, represented by a green particle effect. Follow this trail of green to a group of enemies with a large Hive Rune hovering above them. Remember this rune, it is important later. Killing all the enemies will reveal the way forward once again, to another group of enemies under the same Hive Rune. This repeats one more time, but this third group of enemies includes a member of the Lucent Hive. Upon finishing off this enemy’s ghost, the guardian who dealt the killing blow will be given the debuff Vestige of Light. This lasts for a minute and 15 seconds and will kill the guardian unless they properly dispose of it.
To do so, return to the ritual site and kill the Veilweaver Wizard you’ll find there. Doing so will cause them to drop a Deepsight Node. Activating the node will show that each statue at the site has an associated Hive Rune. The guardian with the Vestige of Light can then deposit the Vestige into the statue with the rune your team has been following. Rinse and repeat this three more times, and then the way forward will be revealed.
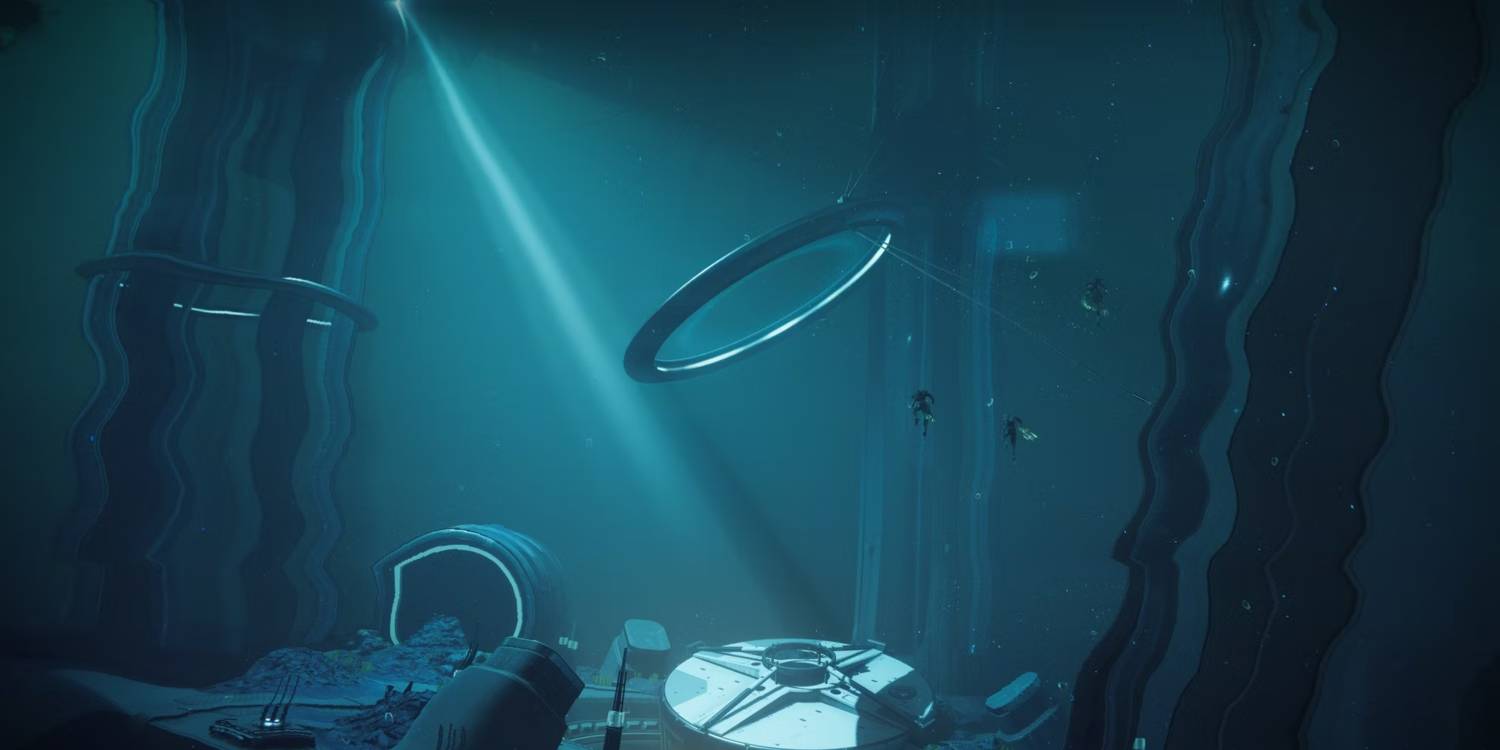
Before the next encounter, your fireteam will encounter the longest, and possibly most dangerous, traversal section in any Destiny dungeon. Drowning is a real possibility, as there are not enough air bubbles to go around. However, each air bubble acts as an area of effect, so try and have your team huddle around the bubble before popping it to maximize the air you get. You’ll know when you’ve reached the end of the traversal section when you encounter Ecthar, The Shield of Savathun. At that point, take the air jump to initiate the next encounter.
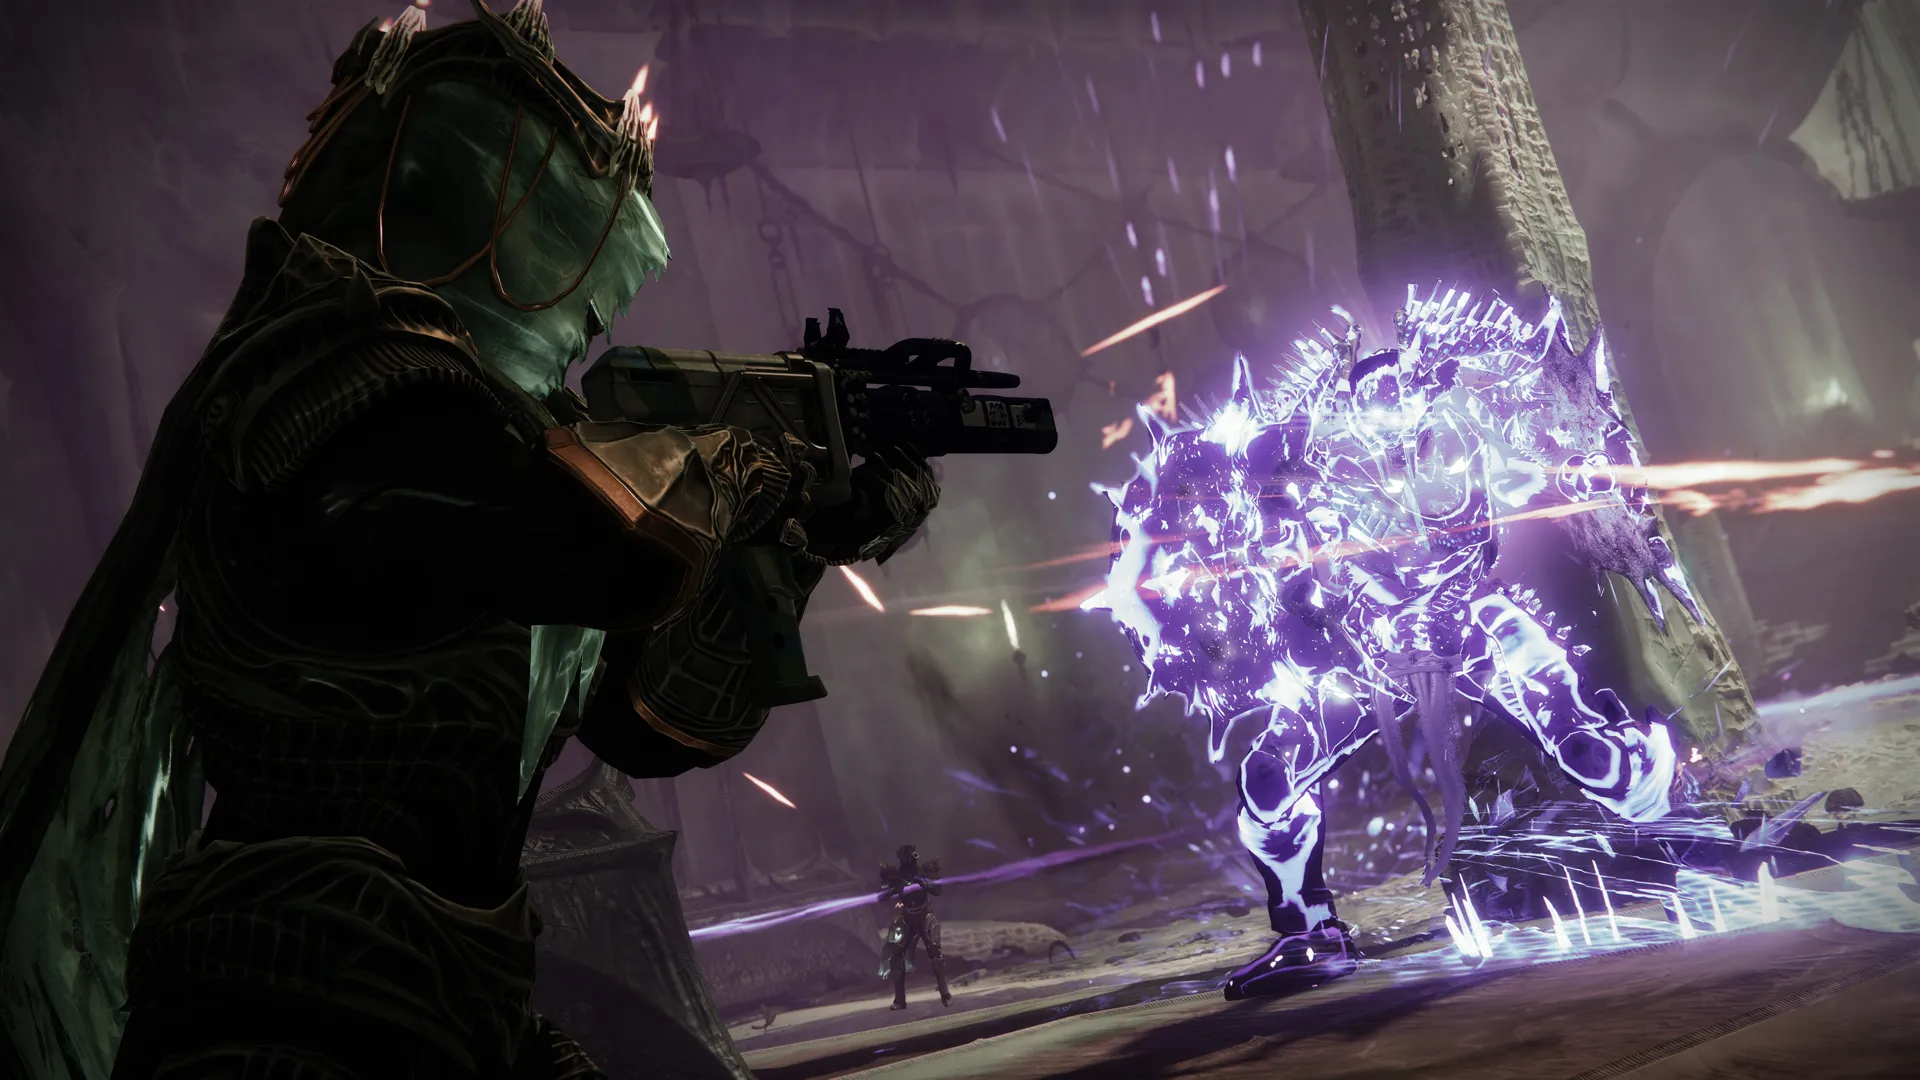
As the fight against Ecthar begins, your team will want to find and kill 3 Blistered Knights. Doing so will spawn The Keeper of The Deep. Killing the Keeper will drop a Deepsight Node in the center of the room. Activating the node will show 3 Hive Runes on plates that have been suspended from the ceiling. Back under the water are several runes, including the 3 shown from Deepsight. Each of these runes can be activated. However, activating an incorrect rune will kill your guardian. Activating a correct rune will spawn a Lightbearer Wizard in the main chamber. Killing this wizard and their ghost grants the Vestige of Light debuff, which can be deposited in one of three statues in the chamber.
Once all three runes have been activated, all three wizards killed, and all three statues given a vestige, a Wellkeeper Knight will spawn in the chamber. Killing this knight and standing in its aura will grant the ability to remove Ecthar’s shield. Once the shield has been removed, the damage phase begins, and Ecthar will charge into melee distance. Fend him off until the damage phase ends, then rinse and repeat until you kill Ecthar and destroy his ghost. At this point, a way forward will be unlocked in the underwater area, and your team will be ready to stop the King’s resurrection.
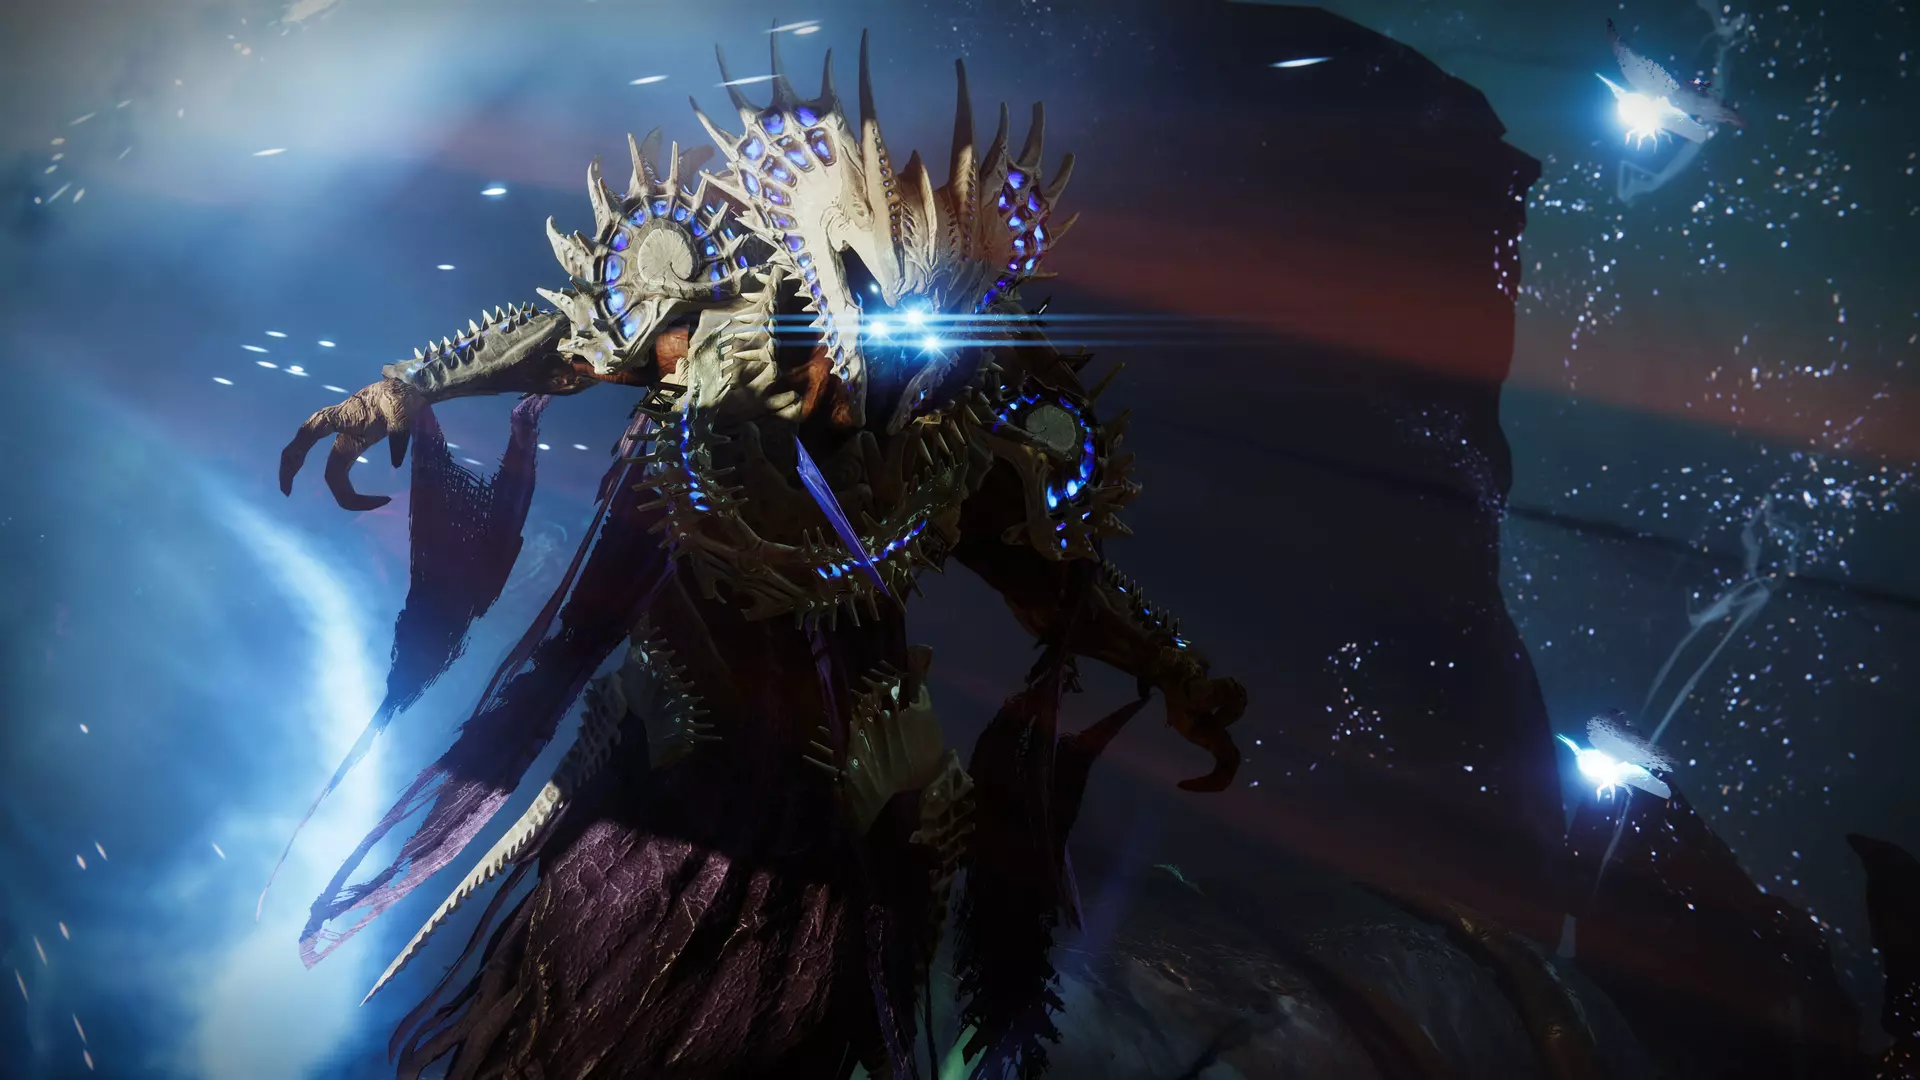
Your team has made it to the grave of Oryx, the Taken King. The Lucent Necromancer, Simmumah Ur-Nokru, has begun a ritual to bring them back to life. Now that you’ve gotten this far, it’s up to your team to stop her. As you traverse the map, you’ll see that several parts of Oryx’s corpse will glow with Hive magic. Activating the Deepsight Node will show a glowing green triangle, with each vertex hovering over a hive magic circle. While standing on one of these circles, you will need to kill Vorlog, Risen in Heresy. Doing so will cause two symbols to appear in the air, the first is the symbol of Oryx, and the second is a circle.
To fully activate the vertex of the triangle, you will need to position your guardian to look at the symbol through the circle. Doing so will activate the vertex and cause a Hive Rune to appear above it. This must be done for all three vertices of the triangle, leading to three Hive Runes appearing above the triangle. There are three side areas cut off from the main resurrection area by walls of water, and in each side area is a member of the lucent hive, along with one of the symbols above the triangle. Each lucent hive must be killed in order to receive their Vestige. The vestige must then be deposited at the vertex that had the corresponding Hive Rune. This can only be done while your team has Deepsight active.
Once all Vestiges have been deposited, the vertices of the triangle activate, and you are able to destroy Simmumah’s shield as long as you stand under one of them. With that, the damage phase begins and your team can unleash everything they have against Simmumah. Rinse and repeat this process until Simmumah falls, then kill her ghost to make sure neither she nor Oryx will ever rise again. Then your team is clear to engage in some light grave robbing. It’s not like the king will need it, right? Good luck out there Guardians!