
King’s Fall Raid Guide
Everything you need to know to conquer Destiny 2’s King’s Fall raid


After King’s Fall was retooled from the original Destiny and added to Destiny 2, it quickly gained a reputation as a complex raid. The difference of a few seconds can change the tide of a battle, allowing guardians to push their advantage, or fall to their foes. Many guardians have died to Oryx, so ask yourself this now before it’s too late. Do you have what it takes to fell the King?

FIRST ENCOUNTER
As your fireteam spawns into the starting area, they will find a hallway flanked with two rows of statues, along with 2 lanterns with Relics atop them. Picking up these relics initiates this starting encounter, causing enemies to pour in and Taken Doors to lock. In order to unlock these doors, a guardian must destroy the orb in their center.
Take the two relics to the statues and deposit them into the glowing statue. Be aware, the relics must be deposited within 5 seconds of each other to work. After each successful deposit, 2 new relics will spawn further and further away from the hall of statues, and cause more enemies and Taken Doors to block your path. All 6 pairs of statues must have a relic deposited to grant access to the rest of the raid. After completing a jumping puzzle off of some Hive ships, your fire team will make it to their first real obstacle, the Totems.
The map is split into 3 areas: the central area, and the left and right totem areas. Each of the totem areas has a brand buff associated with it, the Brand of the Weaver and the Brand of the Unraveler. These buffs initially have pick-up points at the entrance to their area, which the buff will return to if not given to another guardian before the time runs out.
Inside each totem area is an annihilator totem, which will wipe your fire team if it goes too long without a guardian close to it. Each totem area is also filled with poison that will deal damage over time to any guardian without the correct buff.
While standing on the totem while holding the correct buff, guardians will obtain stacks of Deathsinger’s Power for killing enemies. This is the main mechanic of the encounter, as depositing stacks of Deathsinger’s Power into the central area will eventually unlock the exit to the encounter.
In order to safely deposit the Deathsinger stacks, another guardian needs to take over the buff in order to stay near the totem. To do this, the guardian in question will need to kill a Wizard that spawns in the central area. Doing this will spawn a Blight Guard. Killing this blight guard will cause them to drop a buff called Brand Claimer. Standing next to a guardian with either Brand buff will give a Brand Claimer Guardian the option to take the Brand, restarting the buff timer.
This leads to a natural rotation, with 2 branded guardians in the totem rooms, 2 guardians killing wizards and knights in the central area, and 2 guardians depositing stacks to open the door, each group rotating to the next task in sequence until the door is open. Fireteam communication is vital here, as swapping brands too early or too late can drastically upset a run. Once the gate has opened, the encounter is over and the Warpriest awaits.
SECOND ENCOUNTER
The Warpriest’s arena is similarly broken up into three areas: the lower central area and the upper left and right areas. Each area has a pillar and a plate, and all three plates must be stood on to start the encounter, bringing enemies into the room.
Eventually, three wizards will spawn, 1 for each area. When the wizards are killed, each will spawn a Revenant Knight. When all three Knights are killed, the Glyph reading sequence will commence. To read the Glyphs, a guardian must stand on the central plate and look at the three pillars. If they see a pillar glowing, the corresponding plate is the first plate in the decoding sequence, and if they do not see a glow, the central plate is the first plate in the sequence.
The decoding sequence begins once the guardian walks off the central plate. This means if the central plate is first, a guardian must walk on to see the reading sequence, step off, then step back on to start the decoding sequence. The first plate in the decoding sequence will then show its guardian which plate is next in the sequence. The second plate is stepped on, and then the third and final plate is stepped on. When the final plate is stepped on, the damage phase begins.
A random guardian will be given the Brand of the Initiate buff, extending a red aura around themselves. Guardians must be in this aura to do damage to the Warpriest. During this phase, more Knights will spawn, and killing them will grant you the Brand Claimer buff from the previous encounter. This will allow you to extend the damage phase. You can extend this phase twice, but whenever it ends, the Warpriest will attempt to wipe the fire team. They will start glowing white, and the fire team will need to hide behind one of the three pillars in order to survive. The pillar your team hides behind will then be destroyed, and you’ll be back at the previous phase. Rinse and repeat this process, but be wary. Once all the pillars are destroyed, the only way to prevent a team wipe is to kill the Warpriest in that final damage phase. With the Warpriest laid to rest, your team will be able to move on deeper into the raid.
THIRD ENCOUNTER
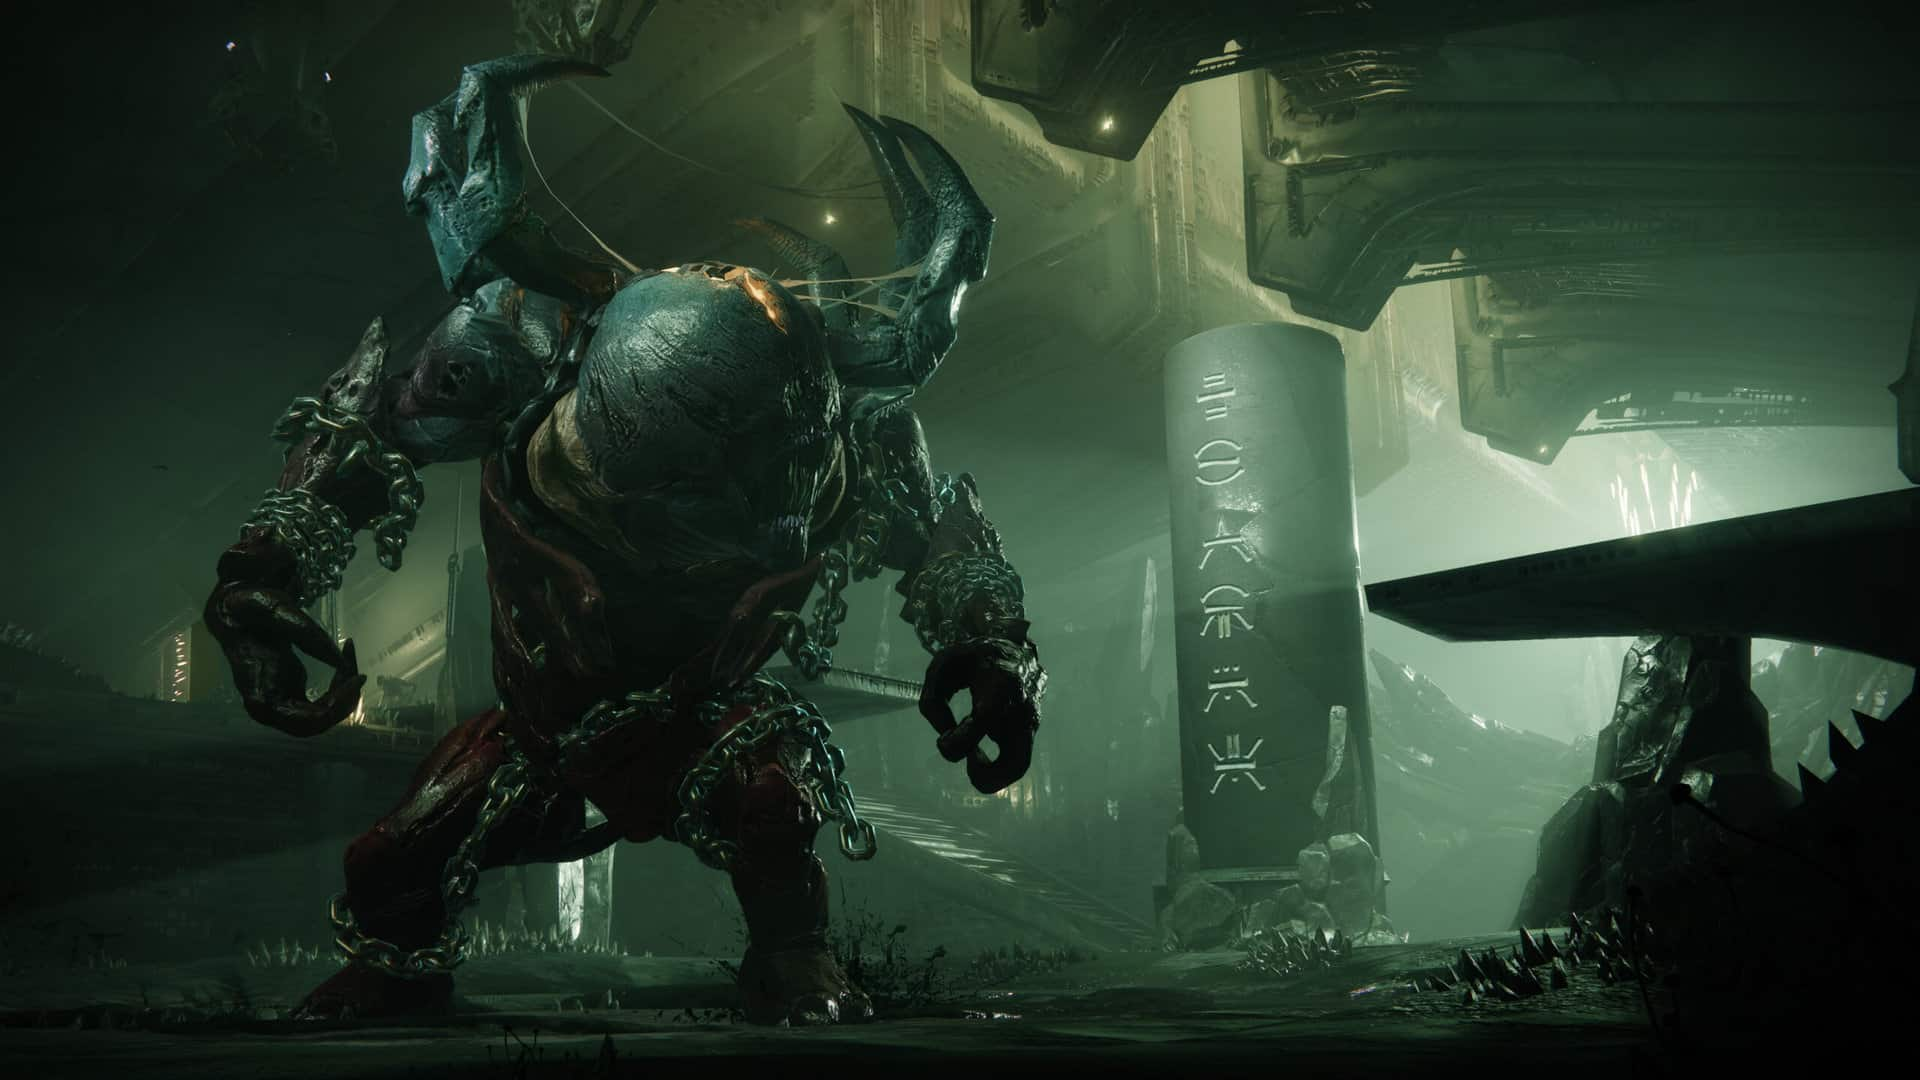
When your team enters the Cellar of Golgoroth, the first thing you notice will be what looks like a large droplet of water stuck to the ceiling. Dealing enough damage to this will cause it to drop and start the encounter, bringing in waves of enemies and awakening Golgoroth.
After some time spent dealing with the waves of enemies, another water droplet will appear on the ceiling, and the weakness on Golgoroth’s back will be revealed. Dealing enough damage to this weakness will earn the offending guardian Golgoroth’s Gaze. While a guardian has this debuff, Golgoroth will singularly focus on them until the timer runs out. While Golgoroth has its gaze on someone, guardians can do damage to them by shooting a water droplet, standing in its aura, and shooting Golgoroth in a weak spot on their stomach. This means the guardian with Golgoroth's Gaze on them will need to position their teammates in between them and Golgoroth to allow their fire team to deal damage.
To extend this damage phase, Golgoroth’s Gaze will need to be passed to another guardian, which is done by shooting the weak spot on their back. Meanwhile, the rest of the fire team is dealing with their own set of mechanics. Guardians can randomly be given the Unstable Light buff. When this buff reaches 0, your guardian will explode, taking no damage but dealing damage to those around you. A guardian with Unstable Light will want to leave the water drop aura and get as close as they can to Golgoroth, letting the damage hit him instead of your team. Additional water droplets will also spawn on the ceiling and must be shot down. This is for two reasons. The first is that water droplet auras are on a time limit, so eventually will no longer allow guardians to deal damage to Golgoroth. The second is that if a total of 6 droplets go undropped by the end of any damage phase, a team wipe will be initiated. So a damage phase consists of two or more guardians juggling Golgoroth’s Gaze, while the rest attack Golgoroth while dropping water droplets and staying away from those with Unstable Light.
Eventually, Golgoroth will end the damage phase, and your team will slay waves of enemies until Golgoroth initiates the next damage phase. Rinse and repeat until the oversized ogre is slain.
FOURTH ENCOUNTER
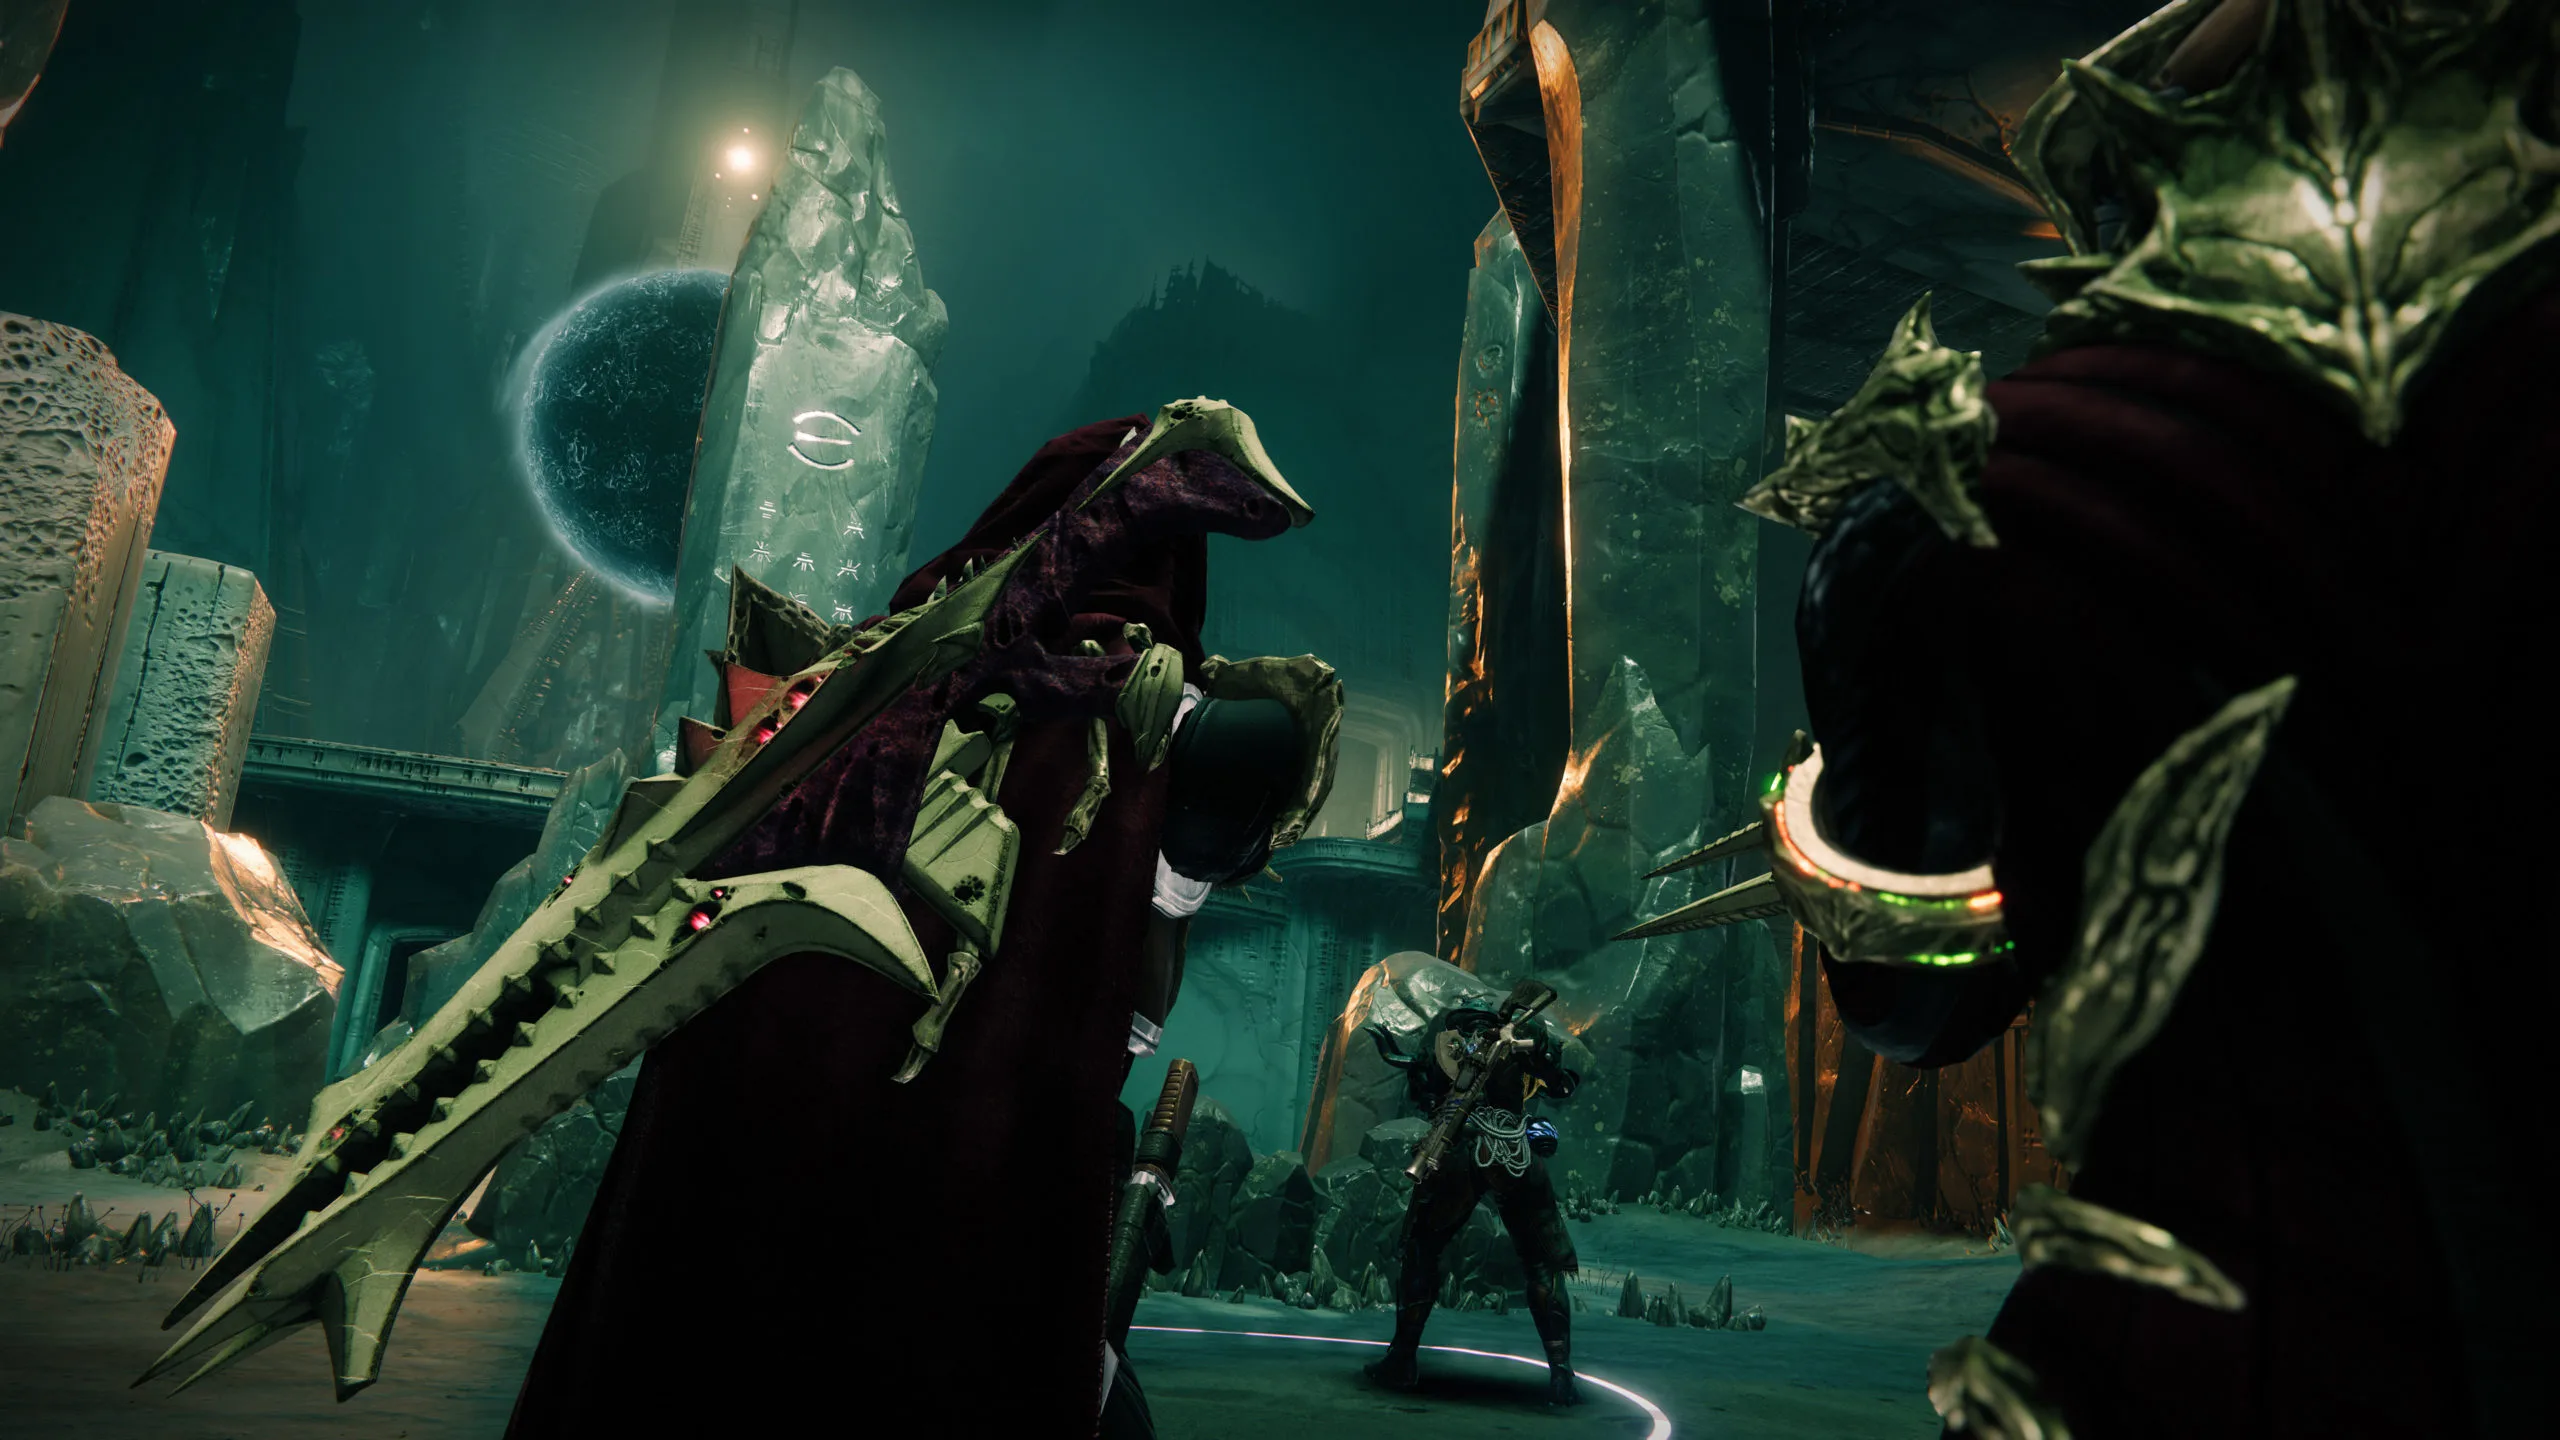
You’ve reached the final chamber, only two more obstacles block your path to the Taken King, the Daughters of Oryx. Surrounding the two daughters are 4 elevated plates, with a Taken Knight standing on one of the four plates as the encounter begins.
Killing the knight and standing on their plate will show you an objective marker above a different plate. Another guardian will need to stand on this plate as well. Stand on the wrong plates and everyone on a plate will start taking damage.
When both correct plates are stood on, a random guardian will become Torn Between Dimensions, shown as that guardian going semi-invisible. This guardian must stand on the first activated plate, which will reveal a platforming section to reach the objective above the second activated plate. Grabbing this objective shunts the guardian back into their dimension and preps the plates to be activated again.
After your fire team completes this activation process 3 times, the damage phase begins. The guardian Torn Between Dimensions on the third activation will be granted the Brand Claimer buff and must use it on whichever of the two sisters isn’t wreathed in green flame. Doing this will allow that sister to be damaged, and give you her immunity shield.
At the end of the phase, the sisters will start a wipe mechanic, and all guardians not standing inside the immunity shield will die. Rinse and repeat this process, with damage phases alternating between the two daughters. But be careful guardians, if one sister falls, the next must fall in the next damage phase, or your team will wipe. Once both daughters have fallen, you will have finally gotten the King’s attention.
FINAL ENCOUNTER
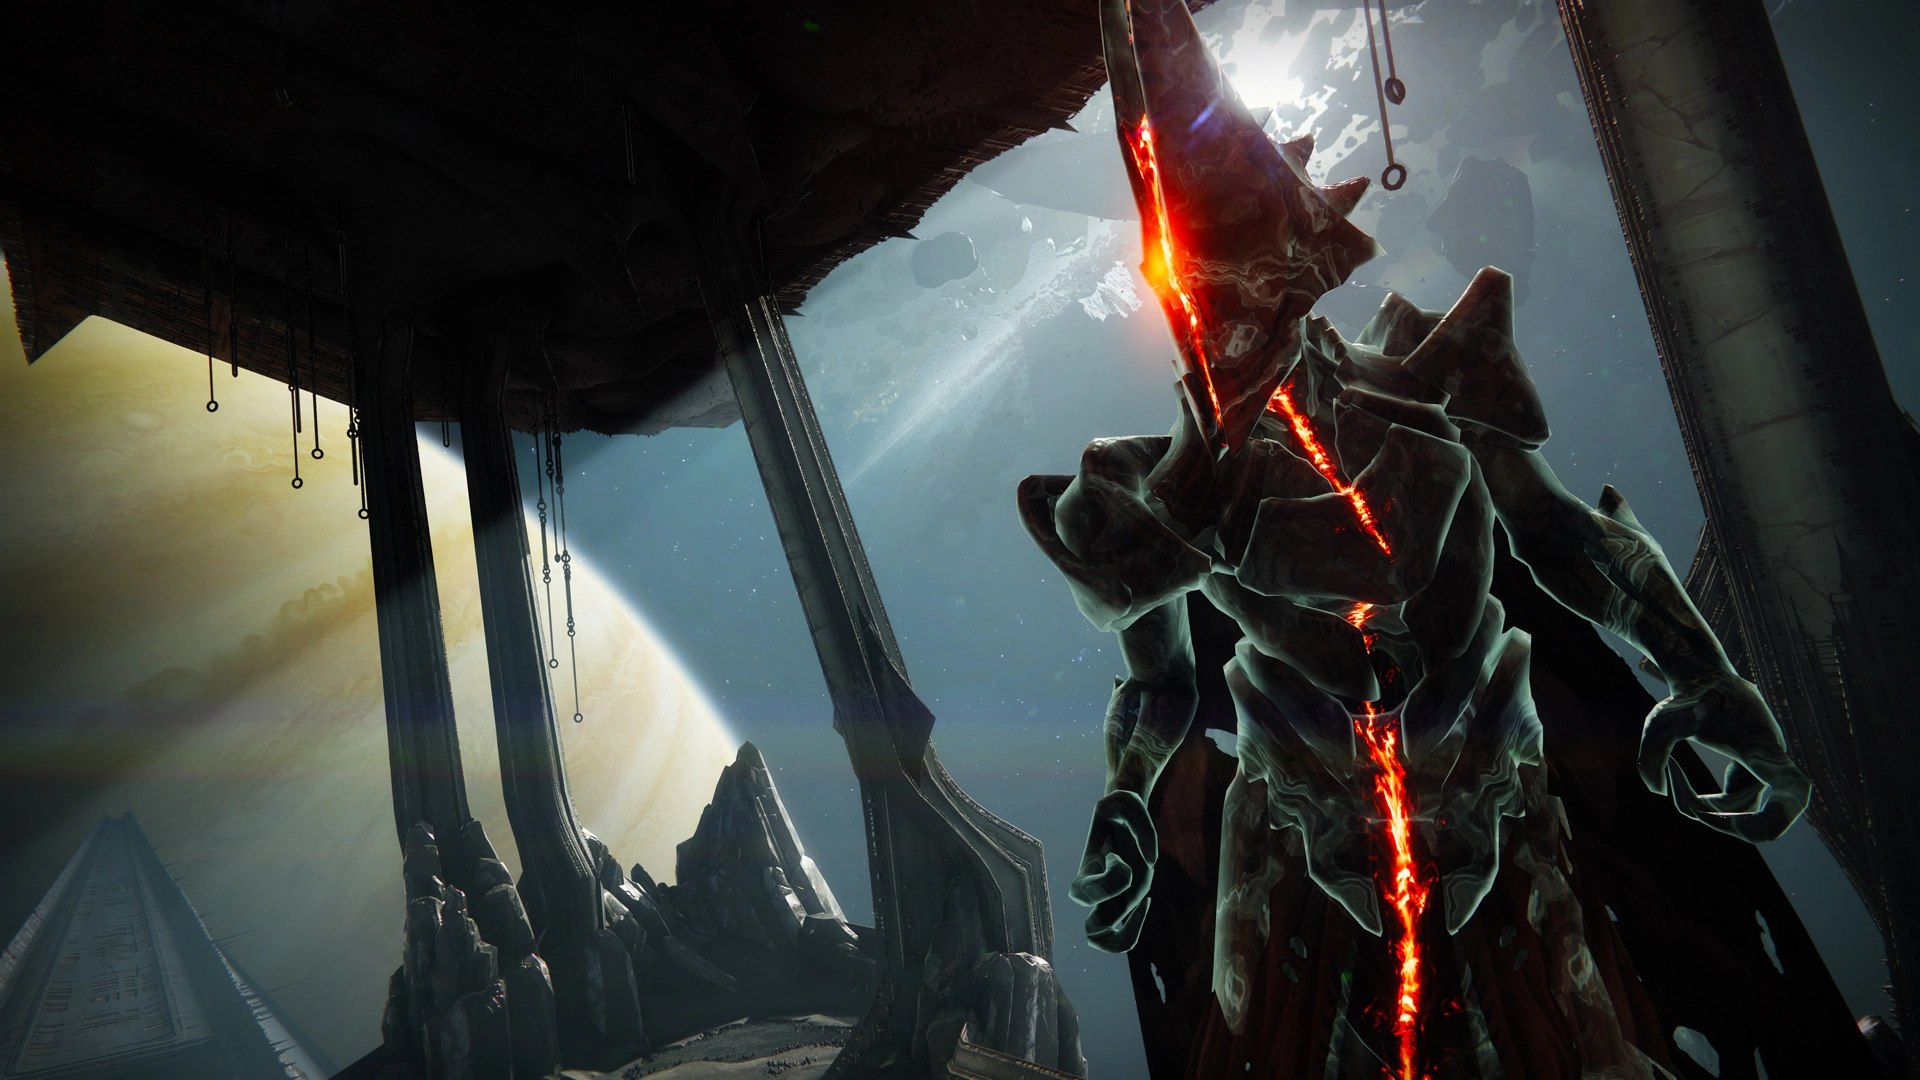
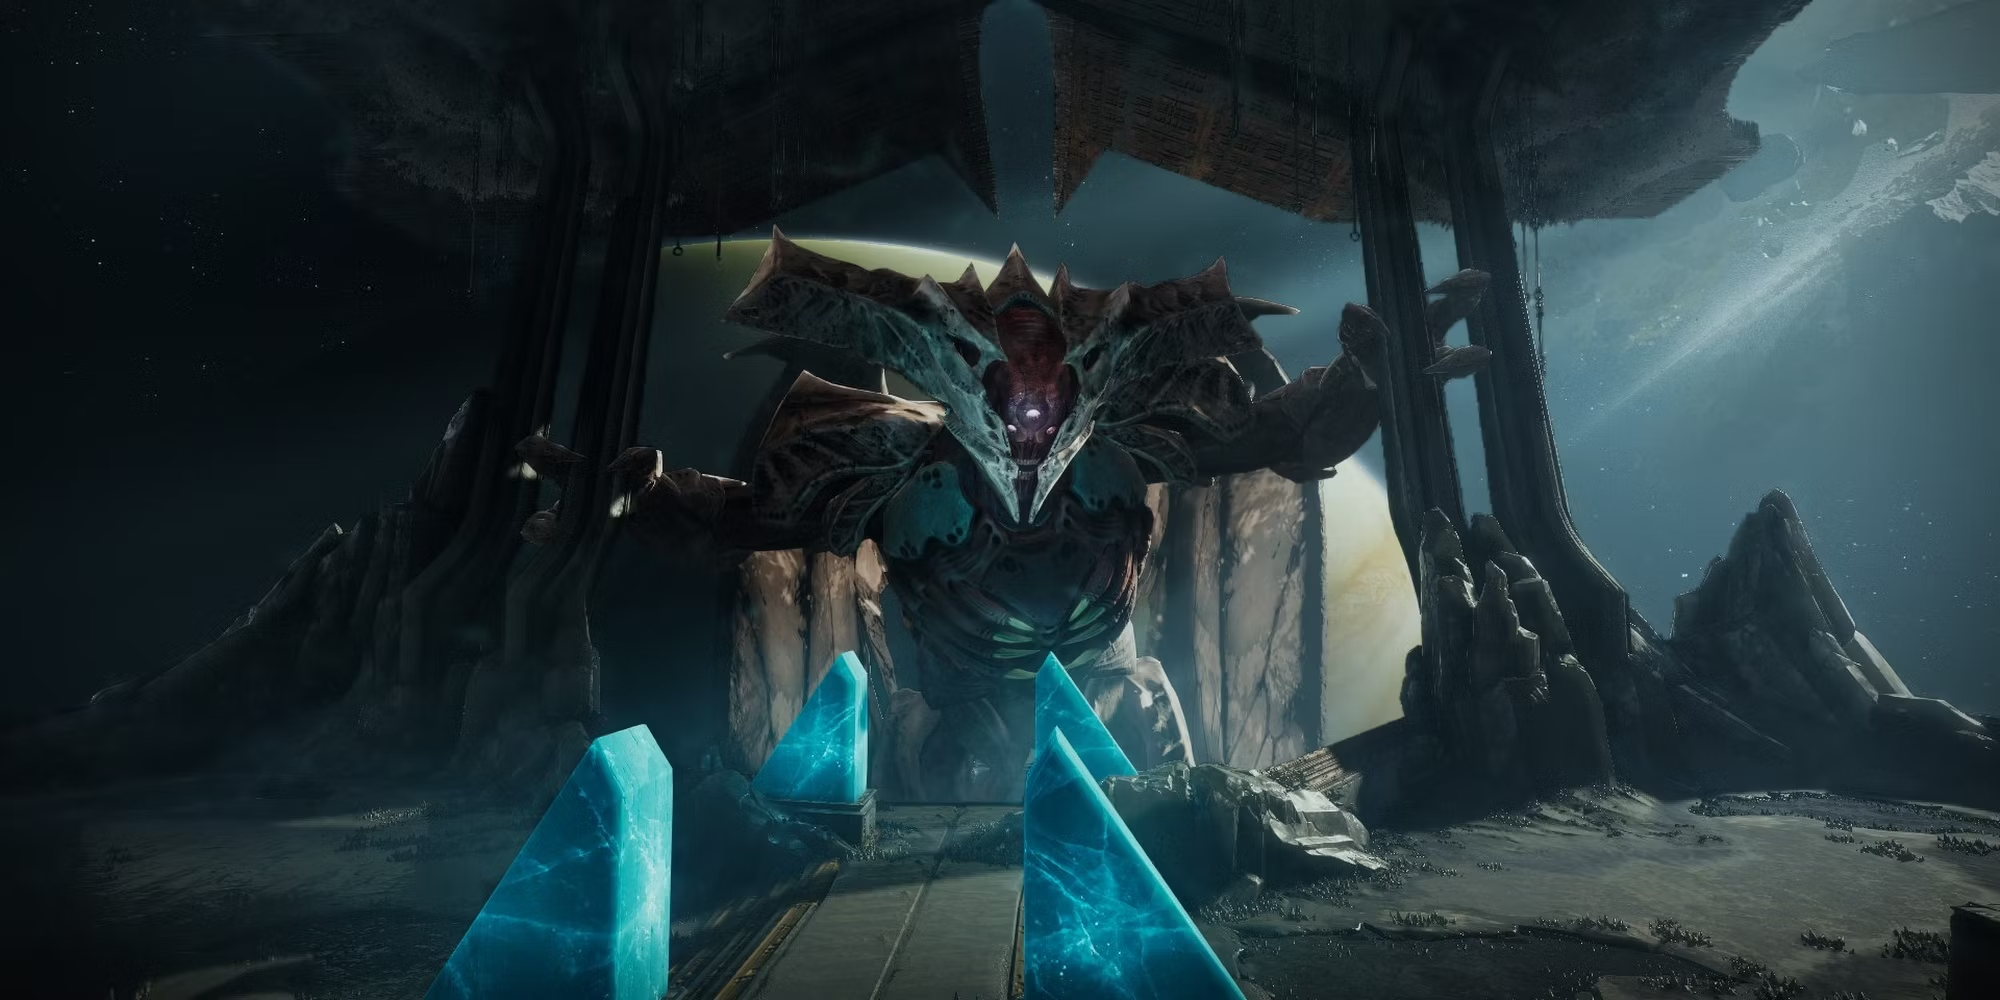
Oryx, the Taken King now towers before you. It all leads up to this.
As the fight begins, Oryx will slam his fist down on one of the four plates. This indicates which plate to stand on first. From this point, the fight resembles the previous one.
An objective marker will appear above another plate which must be stood on. A guardian Torn Between Dimensions must make their way from the first plate to the objective. However, this time there’s more to do.
4 Life-Eater Ogres will spawn around the room, and all must be taken care of. Each ogre drops a taken sphere that must be protected from the Light Eater Knights which will try to destroy them. In addition, Oryx will only indicate the first plate for the first of the three activations in a sequence, the other two will have no indication aside from glowing green, so the entire team will need to keep their eyes open.
Once all three activations in the sequence have been completed, the Brand Claimer guardian will need to find an enemy called the Vessel of Oryx, claim their shield and kill them to begin the damage phase. At this point, a guardian will need to stand next to each active Taken sphere to detonate the corrupted light, then rush back to the invincibility shield, as Oryx will start a team wipe.
After the attempted wipe, a weak spot opens up in the Taken King’s chest, and the damage phase begins properly. At the end of each damage phase, one of two things will happen.
The first possibility is Oryx backing away to blast your fire team from a distance, if this happens, all you need to do is run from the explosions until they stop. The second possibility is Oryx creating a large blue orb in the center of the arena, which they will occasionally teleport a random guardian into. Inside this orb is a Shade of Oryx, who must be defeated to eliminate the sphere.
From this point, it’s rinse and repeat until Oryx comes to their final stand. When it reaches that point, it's kill or be killed. Two more ogres will spawn, and the taken orbs they leave must be activated when Oryx attempts to call upon them. Then all that remains between the king’s treasury and your team is finishing the job. Good luck out there Guardians.