
Last Wish Raid Guide for Destiny 2
Everything you need to know before taking on the Last Wish


A raid that set the bar when it was released during Destiny 2: Forsaken, the Last Wish raid was an infamously difficult raid when it first came out, and it still can take fireteams down quickly if they’re caught unaware. Are you ready to delve into the Dreaming City and slay the Ahamkara, Riven of a Thousand Voices? Then read on, you might just find something that could save your life guardian.
A short jumping puzzle is all that separates your fireteam from the first of many challenges, Kalli, the Corrupted. Kalli starts in the center, next to 6 symbols. Around the room are 9 plates, 6 of which have symbols that correspond to those in the center of the room. Each guardian will need to hop on to a corresponding plate, and then the encounter will begin. Each plate is split into 3 sections, when the encounter begins, 2 sections will spawn a small black orb. Standing on that section will kill your guardian, so make sure to check where you step. When the orbs explode, 2 more will spawn, and you’ll need to make sure you’re on the right section again. After a few rotations of this, a Ravenous Taken Knight will spawn. Killing it successfully completes your plate. Head to the center of the room, where the rest of your fireteam should meet you to start the damage phase.
The damage phase is over when 6 doors open up, each door is big enough for 1 guardian to fit in. Any guardian not behind a door when they close will die to Kalli’s wipe ability. After the doors open again there will be a lot of mobs in the center, but the damage phase against Kalli continues. 2 more sets of doors will open during the damage phase, each one signifying another use of the wipe ability. If Kalli still stands, it’s back to the mechanic from the beginning of the encounter until Kalli’s damage phase is unlocked again.
After felling Kalli and crossing the broken bridge, your fireteam will be met with their next challenge. Shuro Chi, the Corrupted. This fight is notoriously complicated, spanning 3 floors of combat, several potential team wipes, and a puzzle that even trips up seasoned Destiny veterans.
The fight starts with a 4 minute count down starting, and waves of Taken that will need to be fought through until your team finds the Eye of Riven, who will, fittingly enough, drop the Eye of Riven weapon upon death, a relic that allows you to interrupt Shuro Chi’s team wipe ability. After using the Eye of Riven, the player that wielded it cannot pick up another for 90 seconds.
When Prism weapons spawn, 3 guardians will need to pick them up and aim them at each other so to make a triangle around Shuro Chi, allowing them to be damaged. After removing 1 bar of health, Shuro Chi will try to team wipe, and then teleport away after being foiled by the Eye of Riven, causing them to teleport away. Repeat the process to take away their second bar of health, leading your team to the puzzle room.
There are 9 buttons on the floor and 3 pictures on the walls; the active picture will show 4 pieces missing corresponding to the 9 buttons on the ground, but there are 2 catches here. 1, stepping on a button causes you to take damage, and with Taken spawning in the room, that’s not ideal. 2, once you touch a button and then stop touching it, no matter how short you were on the button, you cannot use that button again unless you die and respawn. Once you finish all three pictures, the 4 minute timer will reset, and you will gain access to the next floor. Rinse and repeat until the fall of Shuro Chi.
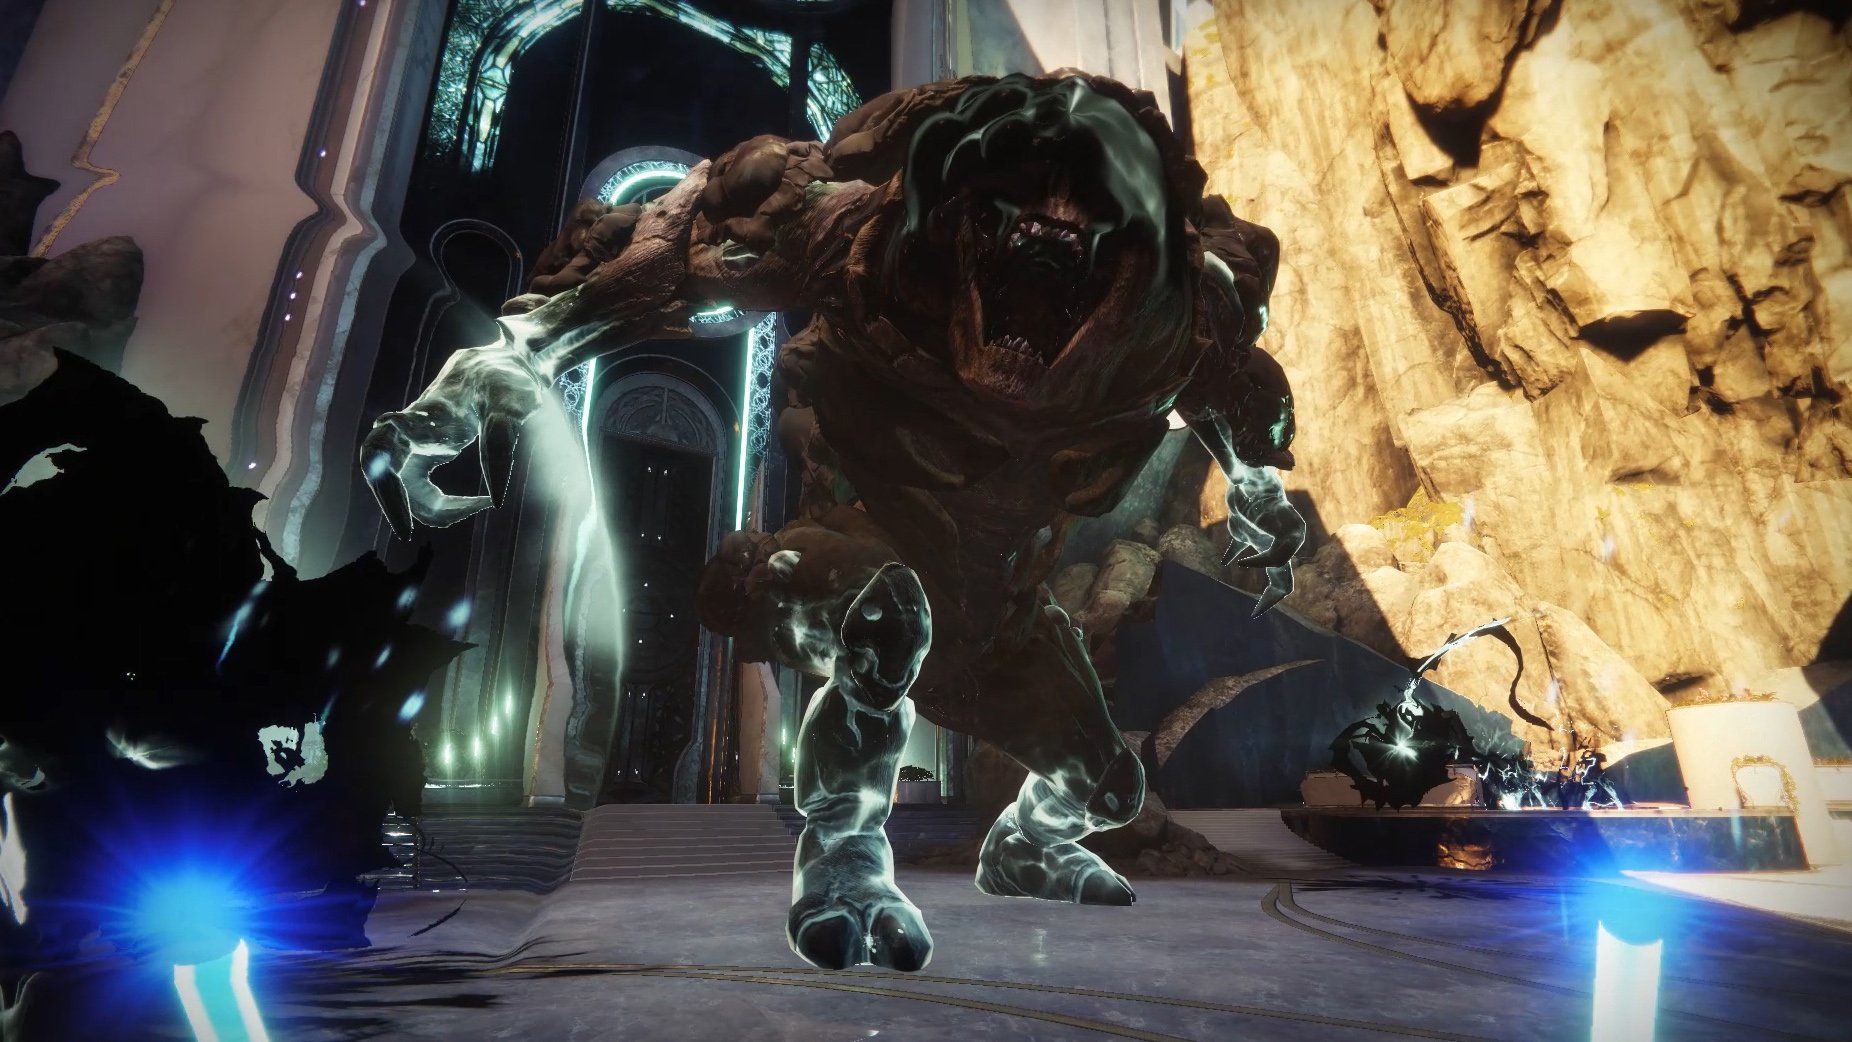
A third jumping puzzle stands between you, your fireteam, and Morgeth, the Spirekeeper. Morgeth is immune until the DPS phase starts, and will near continuously generate drops around the map that will grant your guardian Taken strength. But be warned, taking more than two stacks of this will instantly kill your guardian. But, as long as they are not picked up, they give Morgeth power. If Morgeth’s power reaches 100, the team wipes. However, picking up Taken Strength also makes your guardian a target for Morgeth’s umbral enervation, which freezes the guardian, and kills them if they are not cleansed quickly. To cleanse a fellow guardian, you must have no Taken strength, and then kill a Taken captain to obtain Eye of Riven, go to your frozen teammate, and then use the grenade button to cleanse, taking their Taken strength for yourself. After 10 Taken strength spawns have been picked up, the DPS phase begins. When Morgeth tries to use their team wipe, a super attack from an Eye of Riven will cancel it, beginning the fight anew until Morgeth falls.
We go from Morgeth, a damage heavy encounter, to the Vault, a near singularly puzzle encounter. The Vault is made of a center room with 3 rooms connected to it. The center room has a matching plate for each connected room. When all three plates are activated, the machine in the center of the room will activate, showing each guardian on a plate a sequence of 3 symbols. The symbol in the middle will also be on the left or right of another guardian’s symbol sequence. This helps players determine what type of cleanse is needed for their matching room. Left matching for a Penumbra cleanse, and Right matching for an Antumbra cleanse. Killing a Taken captain will grant your guardian the Eye of Riven, telling you whether you have a Penumbra or Antumbra cleanse. Take it to the correct plate, and that cleanse will be complete. Rinse and repeat for each plate that needs to be cleansed. Then rinse and repeat the entire cycle two more times to unlock the Vault.
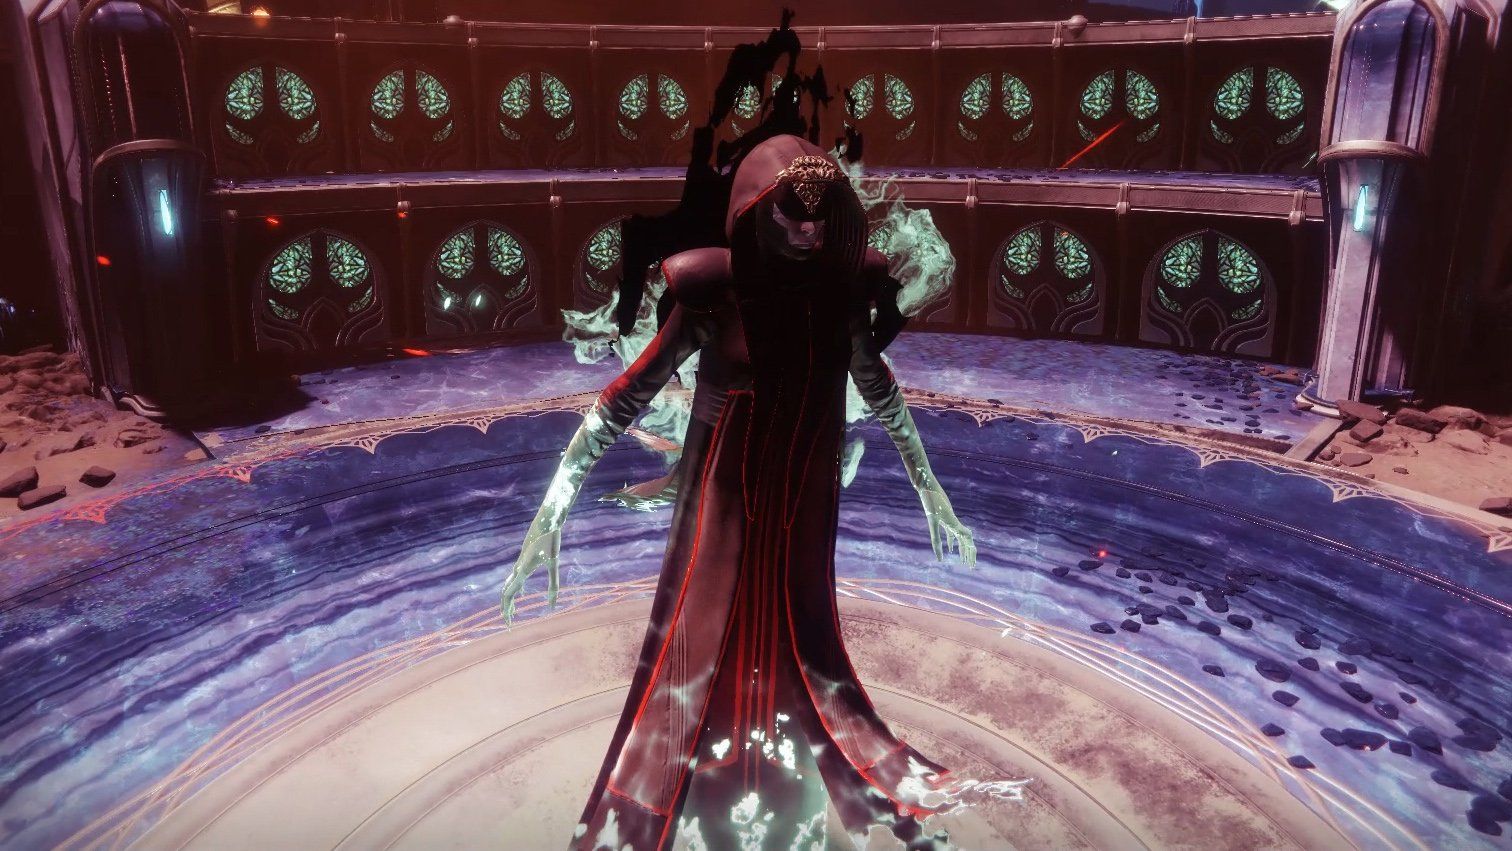
The Vault is open, Riven of a Thousand Voices awaits. Each guardian will need to stand on a plate, when the entire fireteam is on their own plates, they will open up, and the team will fall down, getting split into 2 teams of three. Each team will find themselves walking into a room, and Riven could enter into either of them. If Riven does not enter your room, your team will face waves of enemies followed by a Taken captain. Killing the captain earns you an eye of Riven.
If you have the Eye of Riven, you start to see a repeated symbol, that should be spoken to a teammate standing on the pillar in the back of the room. The teammate can then guide you to where the symbol is in the room so you can cleanse it. In the Riven chamber, Riven will use one of two attacks, one with her claw, and a fire breath attack for the other. When the claw hits, it will stick in the ground for a moment, attacking it can cause Riven to flinch.
Riven can also be flinched by hitting them in the mouth after their fire breath attack. Causing Riven to flinch will cause her to show which two of her eyes are weak spots before she switches rooms. The team in Riven’s new room will need to shoot her in the mouth until it closes, then shoot only the two eyes that were glowing, otherwise they will cause a team wipe.
The other team will need to complete the same puzzle mentioned before. After this is completed, both teams can go up a floor, where the process repeats itself, before getting both halves of the team back together for the final phase. It is much the same as the other fights, only this time there will be 6 eye locations to memorize instead of 2. Rinse and repeat the entire encounter until you reach the final health bar she has. At this point, your team will be teleported to a jumping puzzle, with an orb of Taken strength waiting at the end of it. Touching this will teleport the team back, allowing them to shoot at Riven until they are unconscious. The team can now run into their open mouth and shoot at their still beating heart, finally killing the beast.
And yet we are still not at the end, as the heart must be dragged out of this place. The heart will only choose one person to hold it at a time, and when that person can hold it no longer, they will be teleported inside the heart and another chosen guardian must pick it up, as the heart is the only way to combat the creeping darkness debuff that now covers the area. If you stand too close to the guardian holding the heart when they are teleported inside, you’ll be dragged along for the ride. For those inside the ride, they don’t just get a free ride. The heart is riddled with Taken enemies, and they have the important task of refreshing the timer for each carrier of the heart. They can only do this once per carrier, so the longer they can hold off on collecting 1 Taken strength orb per trapped guardian, the longer the current holder has before being trapped as well. If all goes well, the last holder of the heart will be in range of the final destination, a pool that will become the Heart’s final resting place. Once it is placed, the raid is finally finished, and your team will earn their just rewards.