
Root of Nightmares Raid Guide
Everything you need to know about the Root of Nightmares Raid in Destiny 2


The Root of Nightmares is the newest Raid to join Destiny 2’s roster - introduced in the Lightfall expansion - and it’s not pulling any punches. With multiple puzzle mechanics to understand and the importance that positioning is given, this raid can spell doom to an unprepared fireteam. What say you guardian, are you prepared to delve into Nightmare and face Nezarec?

FIRST ENCOUNTER
Your team begins the raid on the way to Cataclysm, the first encounter. You’ll find yourself rallying at the edge of the map, with a mini traveler right in front of you, emitting a blue aura and hovering above a white plate. These traveler plates are a mechanic that will be present in the entire raid. If you stand in the aura and shoot the mini traveler, you will be given the Field of Light buff. Gaining this buff also begins the encounter, spawning in the first wave of enemies.
As the encounter begins your entire team will be given the 33-second Sweeping Terror debuff. When the timer on this debuff reaches 0, your team will wipe. However, the timer can be extended by 45 seconds from killing a Cavum of Nezarec, a yellow health-bar enemy that will occasionally spawn around the map. Cavum’s of Nezarec only spawn after the initial wave of Psions is killed.
In order to win the encounter, you will need to activate all of the traveler plates. Looking at active traveler plates, you will see glowing white light indicating which plates can be activated next. Going to this inactive plate, its normal appearance will have been changed, and now a small dark ball wobbles in the center. You can activate it by standing on its plate and shooting it while you have the Field of Light buff. Not all active plates will have the buff granting aura, and which plates possess the aura changes with every new activation. Once enough plates are activated, your fireteam will see the message ‘His hatred halts…’ With this message, the Sweeping Terror debuff will temporarily go away. But in order to win the encounter, you have to do this all over again, reacquiring the Field of Light buff from an active plate, reacquiring Sweeping Terror, and activating more plates. After this second round of activation is complete, the encounter ends, and your team can make their way to the next encounter.
SECOND ENCOUNTER
Scission, the second encounter of the raid, consists of a map split in two, with the only method of getting from one side to the other being bullet-activated jump plates which will rocket your Guardian from one side of the map to the other. The goal of this encounter is quite similar to the last - activate all the plates.
However, the crucial difference here is that there are two different types of plates. Returning from Cataclysm we have the blue aura Field of Light plates. Making their debut in Scission we also have the orange aura Flux of Darkness plates. The Darkness plates act in the exact same way as the Light plates, the only difference being that the Flux of Darkness buff activates them, not the Field of Light buff.
Enemies will pour in from both sides of the map as you activate both sets of plates, including some enemies that can only be damaged by guardians with the Field of Light or Flux of Darkness buffs. In addition, the Imminent Expulsion timer will begin counting down, and it does exactly what it sounds like once it hits 0. Once all of the plates have been activated, you’ll be able to reach the next floor. Rinse and repeat for a total of 3 floors, and the encounter is finished.
THIRD ENCOUNTER
On your way to the next encounter, your fireteam will encounter a jumping puzzle that introduces a mechanic that’s integral to the rest of the raid. As your team makes their way through the jumping puzzle, an orange aura will occasionally sweep through the map, killing every Guardian it touches. The only way to survive this aura is to obtain the buff Darkness’s Refuge. The buff is obtained by first getting the Field of Light buff, then immediately getting the Flux of Darkness buff. With this buff, there’s little preventing your team from approaching the next encounter, Zo’aurc.
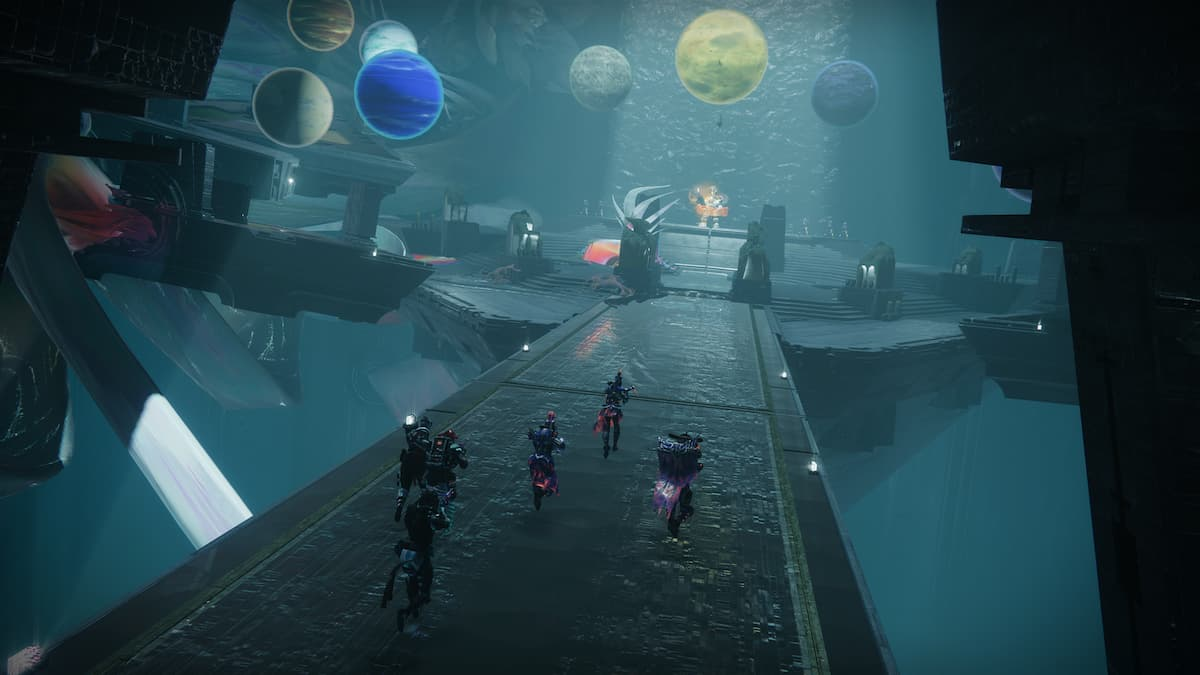
Zo’aurc, Explicator of Planets is, appropriately, fought in a planetarium, and you must use the planetarium against them. The room is split into Light and Dark, corresponding with the appropriate planets in the back of the room. Each side has two sets of planets in a triangle formation. In the center of the room are 3 plates and 3 planets, both in a triangle formation as well. Once you attack, the fight begins.
Included in this assault are 4 Lieutenants, 1 for each set of planets. Dealing the finishing blow to a lieutenant grants the Planetary Insight buff. Having this buff allows you to see if the planets in the Lieutenants' set are glowing light or dark. 2 planets will have a glow that matches the side of the room you’re on. 1 planet will be the odd one out, and they must be moved. Standing directly under this planet gives you the Planetary Attunement power, allowing you to move your planet to the right spot. This means that both planets need to be moving at the same time, so coordinate with your fireteam on when the swap is happening.
After killing another 4 Lieutenants, the Planetary Insight buff will show how the middle three planets are glowing. Apply the appropriate Light or Dark buff to the plates that correspond with the planets to activate a floating button in the middle of the room. Shoot this button to activate the damage phase.
Zo’aurc will have either a light or dark shield, so stand on a corresponding plate to deal damage. Once a plate stops glowing, it’s out of power. Once all the plates are out of power you’re back to the planetary puzzle - rinse and repeat until Zo’aurch gives their final stand. At this point it’s all about damage, and doing as much of it as you can to them before they wipe you out. If you survive the encounter, there’s nothing that can stop you from reaching Nezarec.

FINAL ENCOUNTER
Your team’s made it to Nezarec, Final God of Pain. What you do next determines whether you die this day or return as champions. Like Scission, in this fight you’ll need to activate both Light and Dark plates while wading through waves and waves of enemies. However, Nezarec won’t let this fight be so simple. Every so often, Nezarec will choose a Guardian to focus their hatred on. When a guardian has the Nezarec’s Hatred debuff, Nezarec will rush to attack them, focusing on nothing else. In order to refocus Nezarec’s Hatred, another Guardian can attack them until the debuff moves off of the initial target and onto them.
Nezarec has 3 crit spots on their body, one on each shoulder and one on their chest. These not only serve as excellent methods of refocusing hatred, but also must be broken in order to survive their wipe mechanic, where Nezarec will glow white and emit a wiping aura. After breaking all three spots, look for the color emitted by the final spot. If it is an orange light, your fireteam will need Darkness’s Refuge. If it is a white light, your fireteam will need Light’s Refuge, which is obtained in the opposite manner of Darkness’s Refuge by obtaining Flux of Darkness first, then Field of Light. Once both sets of plates have been activated, the damage phase begins. Deal as much damage to Nezarec as you can before the activation phase starts again. Rinse and repeat until you slay the God of Pain, and claim your spoils of war.