Spire of the Watcher Dungeon Guide
A step-by-step guide to the Spire of the Watcher dungeon in Destiny 2

The Spire of the Watcher dungeon is the newest dungeon in Destiny 2’s roster. Hailing from the recent expansion, The Witch Queen, the Spire of the Watcher will put your fireteam to the test. You’ll need to have expert focus and be constantly aware of your environment. Otherwise, the Spire may just claim another victim.

FIRST ENCOUNTER
Before your fireteam can enter the Spire, first you will need to reestablish power to the entrance. This initial encounter features waves of Vex and also introduces the dungeon’s primary mechanic. In the center of the map is a generator with 4 nodes, 1 in each corner. Each of these nodes has a yellow wire connecting it to other nodes, forming 4 individual circuits. Each of these circuits must be activated to start the generator and reestablish power.
In order to activate a circuit, you will first need to find and defeat a Conduit Minotaur. After you do so, the Conduit will leave a white circular aura on the ground. Standing in this circle grants you the 30-second Arctrician buff. While this buff is active, you can shoot nodes to activate them. However, unless activated in the proper order, the circuit will not be completed. To activate the circuit, you need to start with the primary node, then follow the wire, activating subsequent nodes, until you end by activating the generator node. You’ll know you’re activating nodes in the right order when the wires between two activated nodes change from yellow to blue. Once all 4 circuits are activated, the door to the spire will open, and the real challenge begins.

SECOND ENCOUNTER
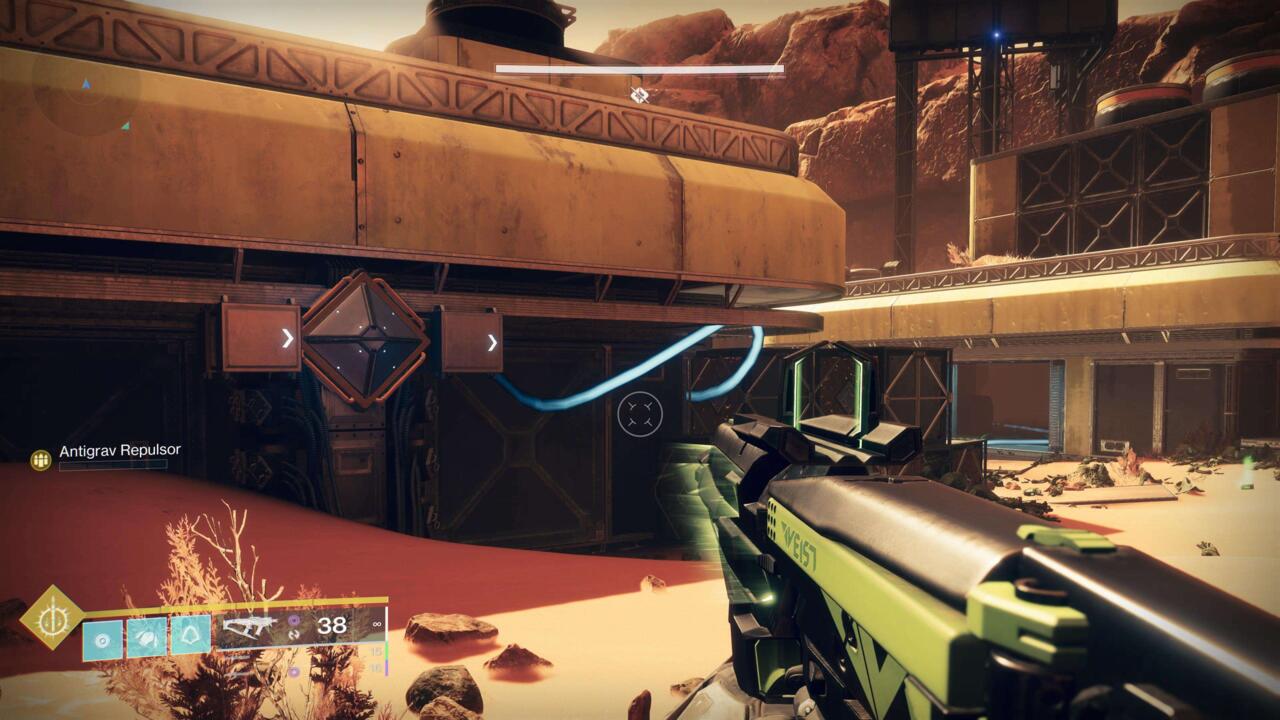
After a hearty platforming section, your fireteam will find themselves at the foot of the spire, with a locked gravlift flanked by two nodes. Your team will need to wind their way around the spire, looking for the two primary nodes and Conduit Minotaurs.
From that point on it’s very similar to the first encounter in terms of action, but complexity is a different matter. Each wire twists and turns, and many of the nodes are very well hidden, requiring you and your team to keep your eyes peeled so you don’t waste precious seconds of your Arctrician buff.
Once both circuits have been activated, the gravlift will turn on, and your team can advance to the second floor. The second floor is much like the first, with the added complication of electrical hazards. These bolts of arc energy will instantly kill a guardian, and have a much wider area of effect than you may realize, so tread carefully.
:no_upscale()/cdn.vox-cdn.com/uploads/chorus_asset/file/24286212/2022_S19_Dungeon__PressKit_Dungeon_Compressed_016.jpg)
THIRD ENCOUNTER
After finishing the final two circuits, your team can ascend to the first boss fight of the dungeon, Akelous, the Siren’s Current. This overgrown harpy will be found at the top of the spire, in the center of the map. 4 branches jut out of this central area, each one sporting a circuit leading to a small fuel rod.
In order to start Akelous’s damage phase, each circuit will need to be activated. When the final circuit is activated, the Siren’s Current will move to that specific fuel rod, so make sure your fireteam is with you. When Akelous reaches the fuel rod, they will display several glowing red weak spots and start backing away toward the center of the map. In order to damage Akelous, every red weak spot must be broken. However, when Akelous makes it back to the center, the damage phase will end, so make sure to destroy the weak spots as quickly as possible. Rinse and repeat until the Siren’s Current runs out of juice.
:format(webp):no_upscale()/cdn.vox-cdn.com/uploads/chorus_asset/file/24286214/2022_S19_Dungeon__PressKit_Dungeon_Large_017.jpg)
FINAL ENCOUNTER
With Akelous vanquished, it is time for your fireteam to descend down the spire. While this is mainly traversal, it also introduces a twist on the circuit mechanic in the form of red wires. Unlike yellow wires, red wires aren’t in circuits, but in groups of five.
The order of activation doesn’t matter for these groups, and the main constraint is timing. All 5 nodes must be activated in a short time frame, or all of them will deactivate again. Once you activate a group, it will open up the way forward. Your fireteam will need to activate three of these groups on their way down the spire, fighting vex and dodging electrical hazards the entire way.
Once every group has been activated, your journey through the Spire of the Watcher will have just one more stop, Persys, Primordial Ruin.
:no_upscale()/cdn.vox-cdn.com/uploads/chorus_asset/file/24286215/2022_S19_Dungeon__PressKit_Dungeon_Large_020.jpg)
The fight against Persys, Primordial Ruin incorporates both red and yellow wiring in activating the damage phase. To begin, you have to activate the red wire group in the main room. Doing this will have two effects.
A secondary room will open up, and 2 of 4 yellow wire circuits will become available to activate. Both of these circuits need to be activated in order to initiate a reactor surge. At this point, the red wire group will need to be activated again, sealing off the secondary room. This will cause the reactor surge to take effect, removing Persys’ shield, killing any guardian in this secondary room, and initiating the damage phase. Rinse and repeat the reactor surge sequence until Persys has been vanquished, then revel in the treasures your team has earned.

