
The Proving Grounds Grandmaster Nightfall Guide
A full guide to the Proving Grounds Grandmaster Nightfall Strike in Bungie’s Destiny 2


The Proving Grounds are considered by many fans of Destiny 2 to be one of the most difficult Nightfall Strikes in the entire playlist, and that’s before you consider whichever modifiers have been added for their current rotation. Many strike teams have fallen without even reaching Ignovun’s chamber, and you and your team are going to need to stay focused and coordinated if you don’t want to join them in their fate. What do you say, guardian? Are you ready to prove yourself?
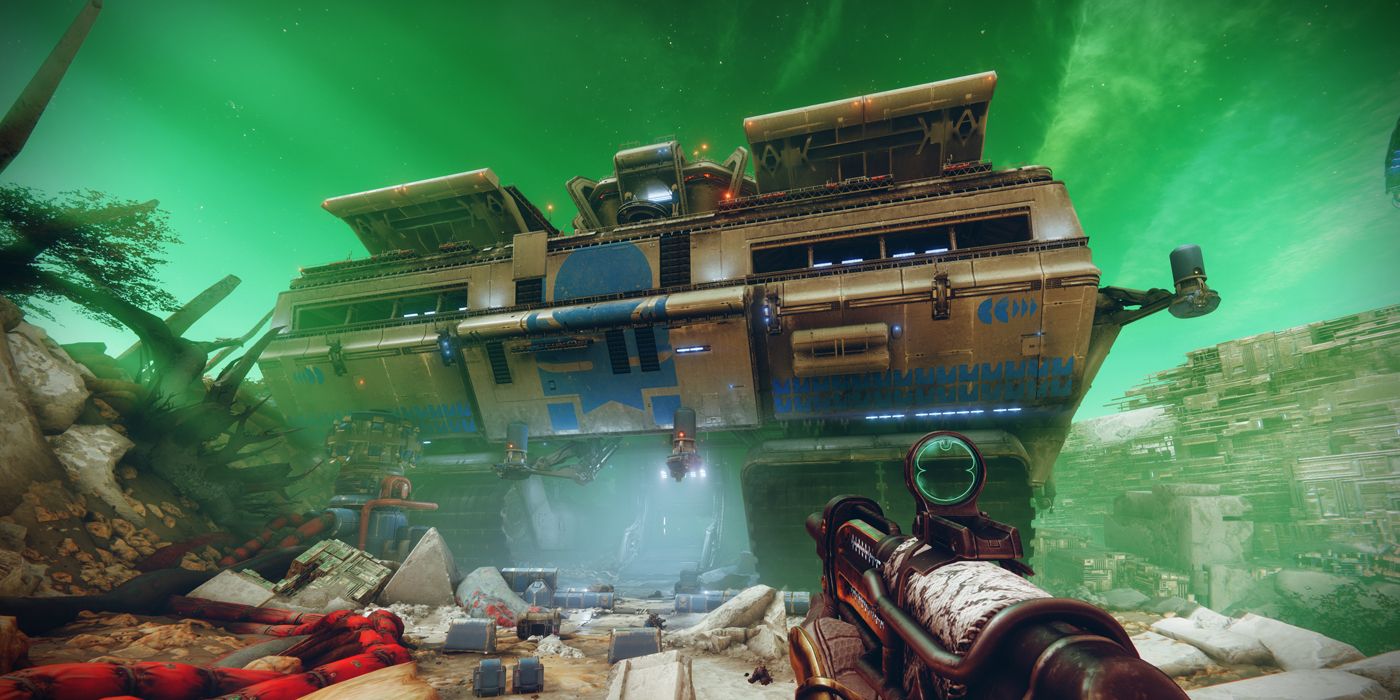
Starting the strike, your team will find themselves in a large open area. On the left-hand side of the area is a craggy outlook covered in large wires. Conventional Nightfall wisdom is to use this left-hand area as cover, otherwise, your team will find themselves out in the open. However, something to keep in mind if your team chooses this route is that it also puts you very close to a spawn gate, which could lead to an unintentional surprise attack if you don’t keep an eye on it. Several enemies are out on patrol in this area, including two champions.
Once all of them are defeated, you'll encounter the first Boss of the Strike, Valus Ozysas. Your team can fire away at them with impunity until they reach half health. At this point, they will pull up a shield, and call reinforcements from the spawn gate, including another champion. The shield generator, in most circumstances, can only be destroyed from the inside. Once it is, finish bringing Valus Ozysas to their knees, and head further into the Grounds for the next encounter.
The Tank room is generally considered to be the hardest part of this Grandmaster Nightfall strike. After dropping into the room, you’ll notice two Psion Snipers, two champions, two minibosses, and three interceptors, along with all of the other enemies in the area. The cover here is generally more spread out, giving your team greater leeway on how they want to tackle this first wave of enemies. Once this initial phase has been dealt with, two tanks will spawn in on the far side of the room, signaling the start of the second phase. Two more snipers will take position where the previous ones were, and two champions will appear with reinforcements. The tanks are capable of one-shotting a guardian, so be careful about staying out of cover for too long. After killing a tank, more reinforcements will come in, including another champion. Once both tanks are destroyed and your enemies killed, you can continue onwards, confident that it only gets better from here.
The Engine room is, at its heart, a simple lock puzzle with some enemies thrown in the mix. Feel free to go all out in this encounter, as you’ll start the final one with full super regardless. In the center of the engine room is where the generators spawn. Jump to grab one, but be careful of the rocks, as they can kill if they hit you. Once the first generator is grabbed, enemies will spawn in, ready to be taken out. Then you can deposit this first generator, opening up the path to more enemies. Once they’re dealt with, the second generator can be deposited, opening up the way to Ignovun, as well as more enemies to deal with as you head to the final boss.
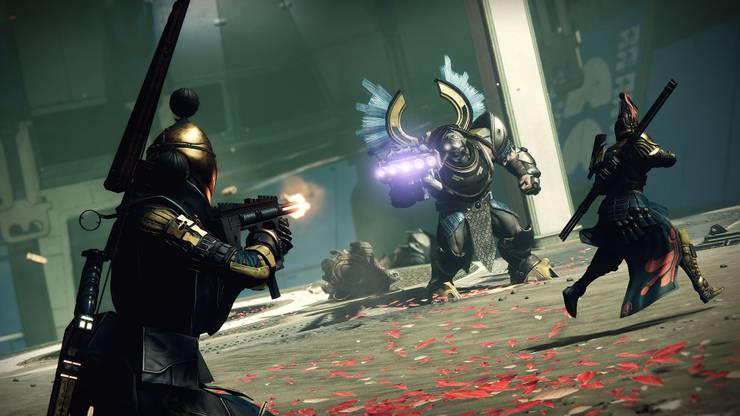
Your team has made it to the arena of Ignovun, Chosen of Caiatl. Complete the Rite of Proving to give your fireteam their fully charged supers, as well as begin the final fight of this Strike. Ignovun will begin hurling tracking fireballs at your team, and two champions along with several lesser enemies will join the fight. The fireballs can be destroyed before they reach you, and this is advisable as they are quite damaging. When you get Ignovun to two-thirds health, they will put up a shield generator and call for reinforcements, very similar to the first boss of this strike. When the shield falls, more enemies will spawn, but no champions this time around. This same process will repeat when the boss gets to one-third health. Take them down from a third of their health to none, and you will have vanquished the Proving Grounds, and claimed your just rewards.