
Vault of Glass Raid Guide
A complete guide to the Vault of Glass Raid in Destiny 2


For those guardians brave enough to delve into the Depths of the Vault of Glass, it is best to give your team every advantage. Called one of Bungie’s most difficult raids, the Vault is unforgiving, and if you’re not careful, your whole fire team may pay the price with their lives.
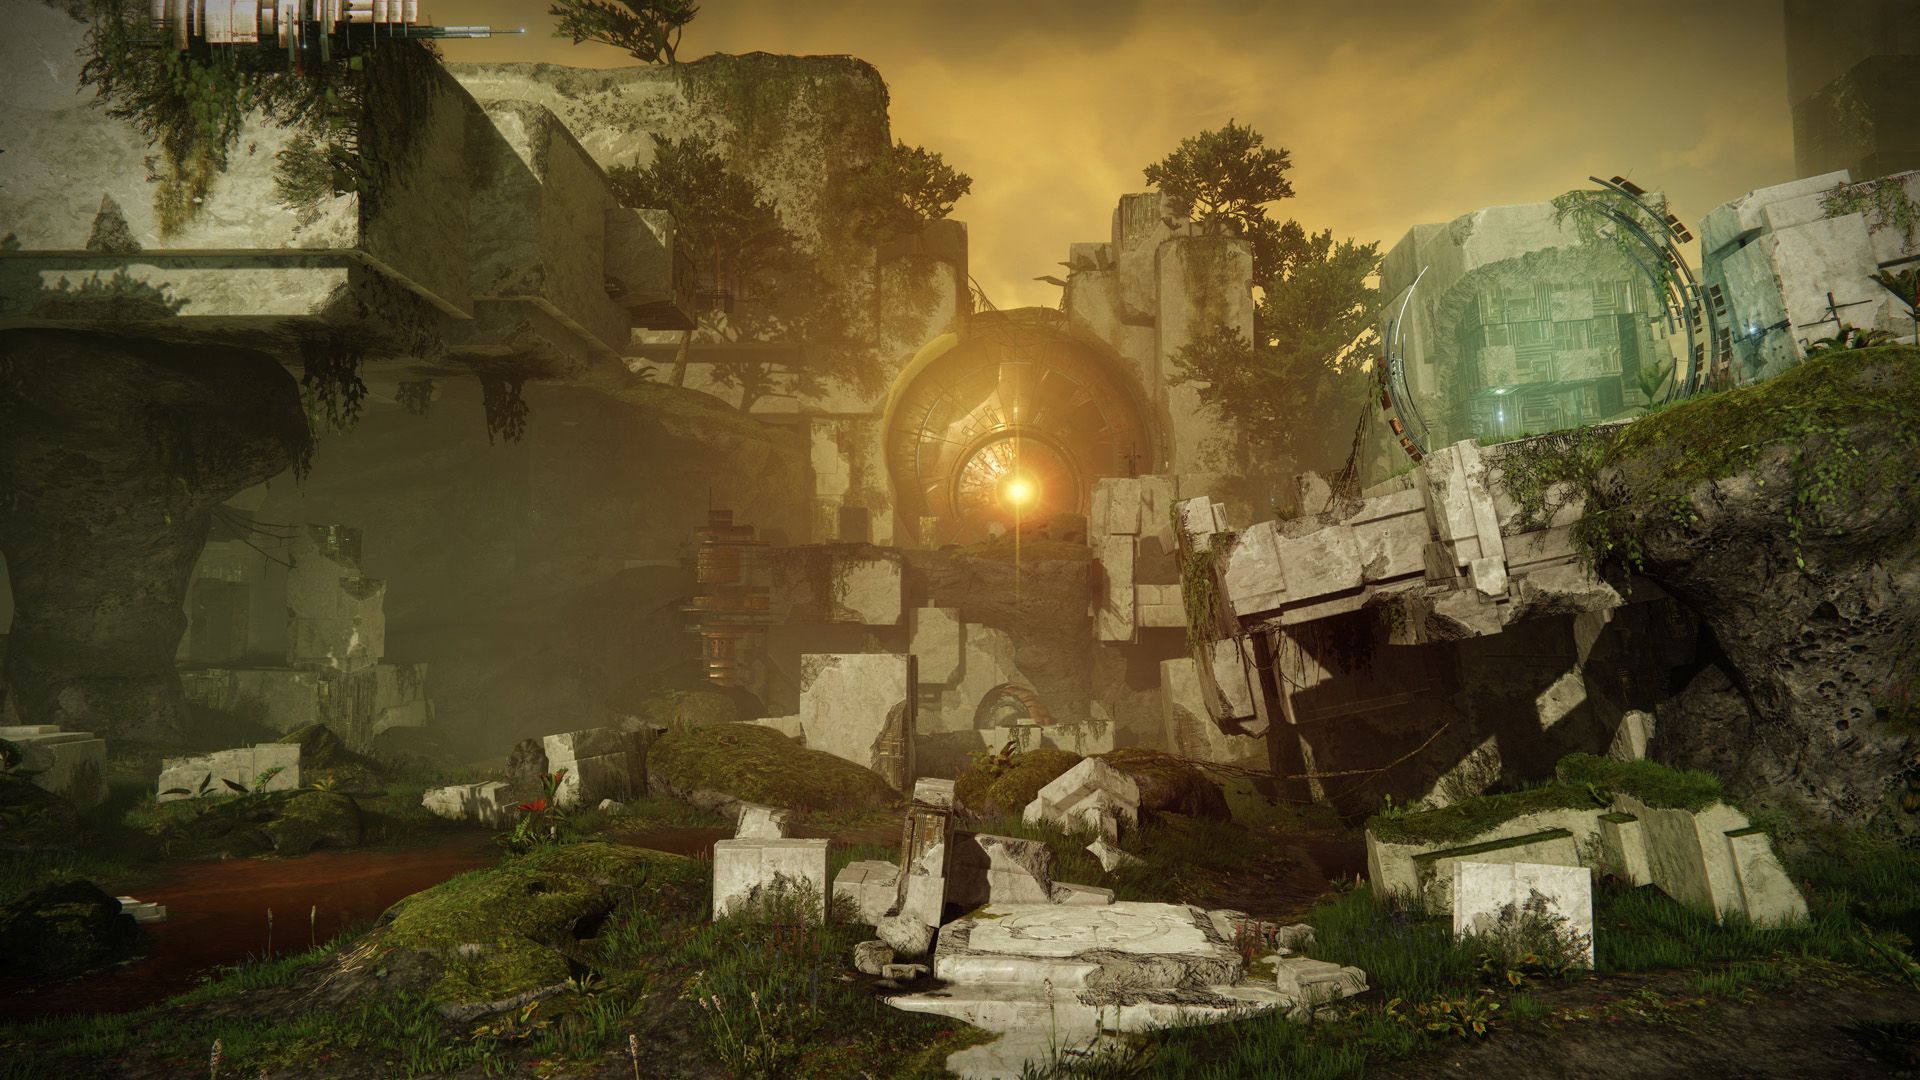
Starting on the surface of Venus, your guardian and fire team's first mission will be opening the massive vault door. This will require capturing and holding 3 Vex Plates on the Left, Right, and Middle locations on the map, while Vex reinforcements pour in from all sides to try and reclaim them. After your fireteam has kept the Plate secured, the door will activate, opening the path deeper into the Vault, and providing your team with their first chest.
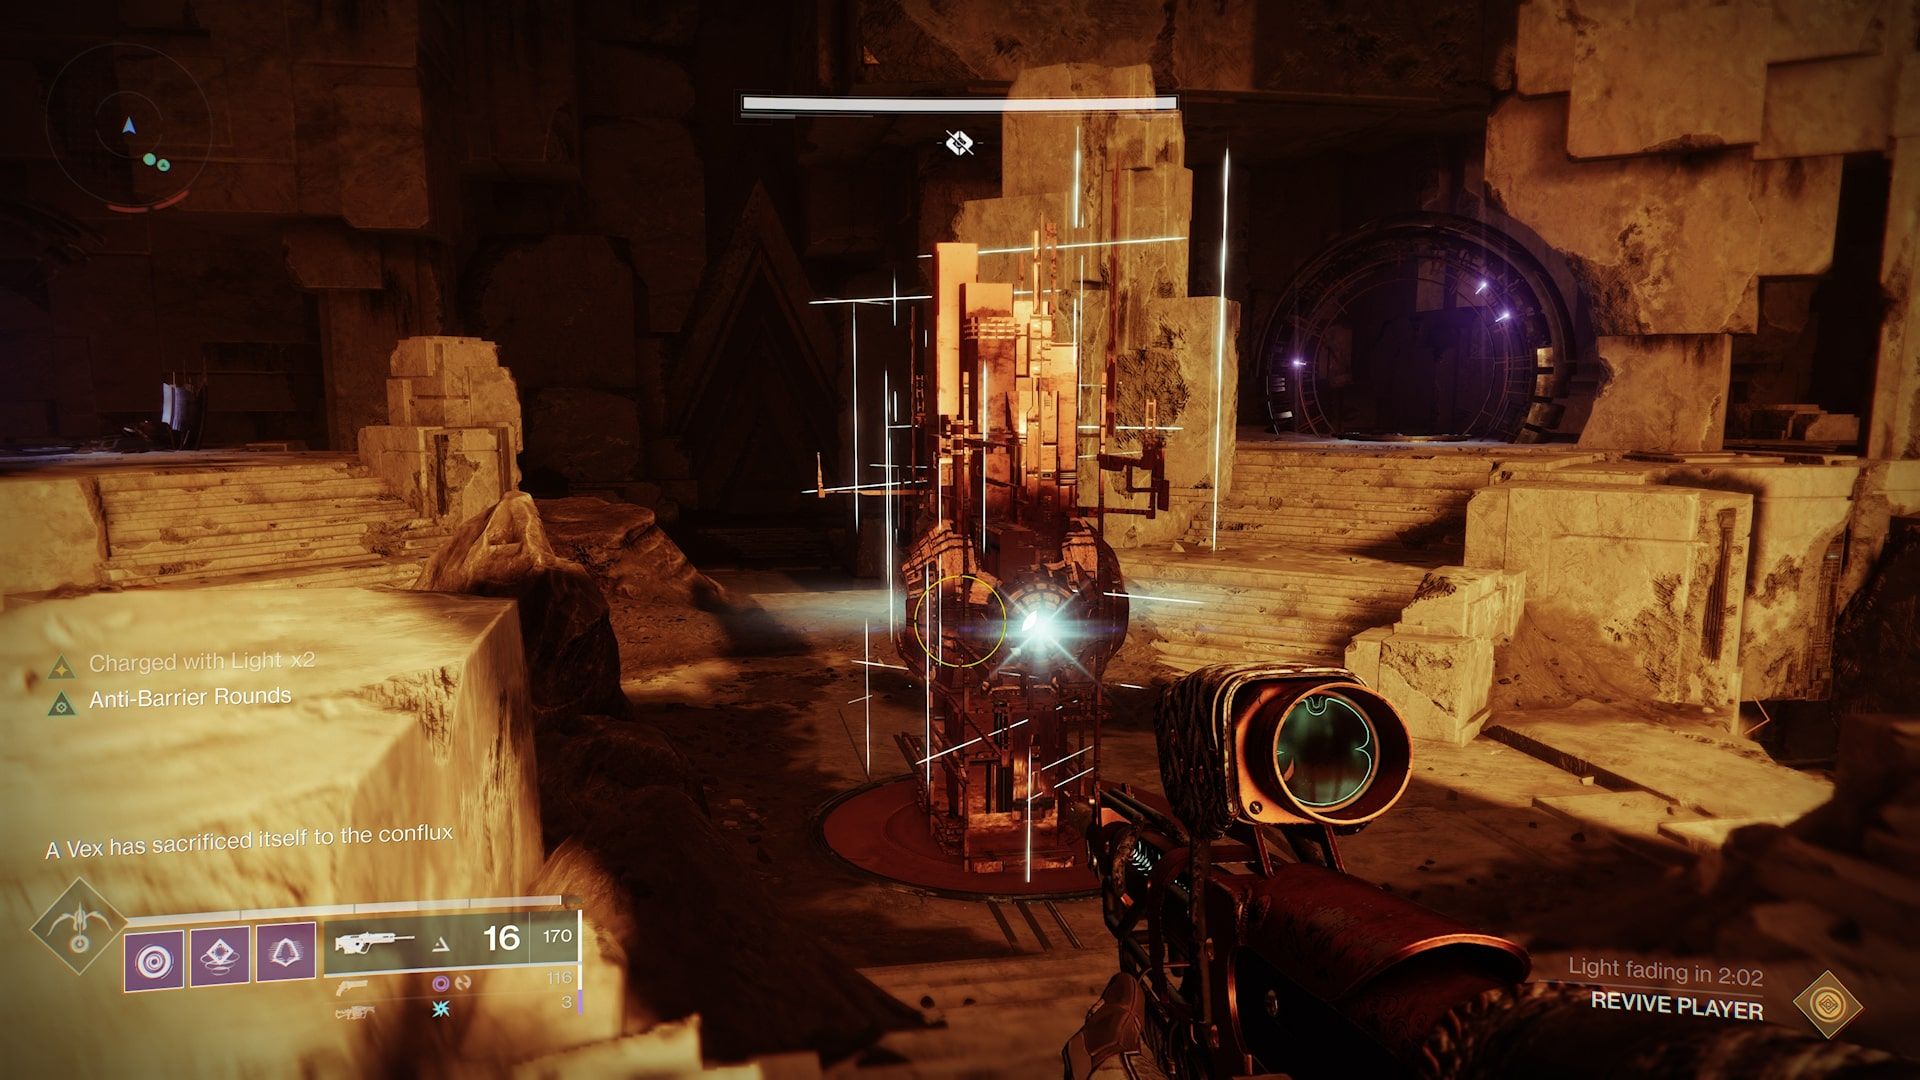
Your guardian and fire team will need to find their way to the Templar’s well, where the next three encounters will take place. The first begins immediately after entering the room, and consists of 3 waves. During the first wave, there is a conflux in the center of the room that the fire team will need to defend, as new Vex reinforcements do their best to reach it.
Wyverns will lead to an instant wipe if they are able to reach the conflux, and Fanatics will mark you for negation if you get too close to their remains. If your guardian is marked for negation, you will have to run to the glowing well in the middle of the map before the next Ritual of Negation. Otherwise, your guardian will be killed. Keep in mind that the well needs some time to recharge, so try to coordinate with your fireteam to make sure every marked guardian can be cleansed.
After the first conflux vanishes, the second wave begins. Two new confluxes will appear on the left and right side of the map, Wyverns will spawn more frequently, and an Overload Minotaur will appear in the middle of the room. After this will be the third and final wave for this encounter. All three confluxes will appear and all three will need to be defended, and Overload Minotaurs will have an increased spawn rate. Once all Vex lay defeated at the feet of your fire team, you’ll be ready for the next encounter, the Oracles.
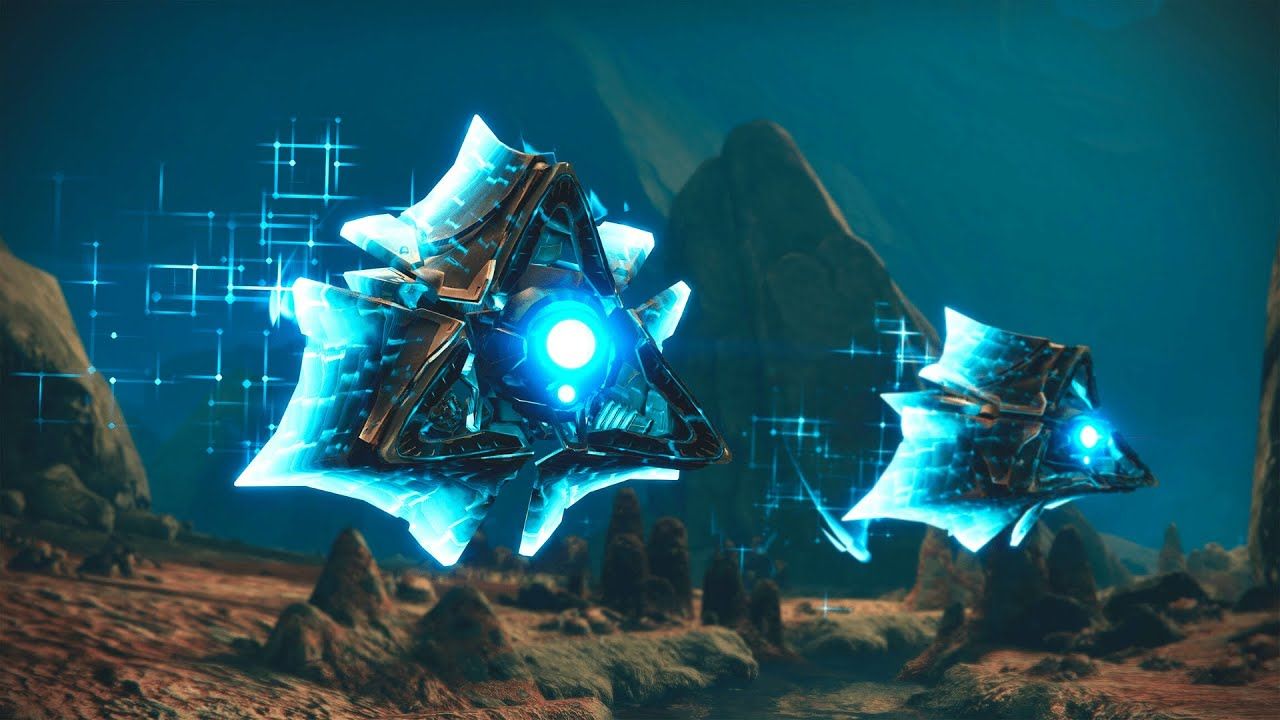
The oracle encounter starts with the first wave of oracles signaling where they will spawn. They will do this twice before each wave, for a total of five waves. Each wave must be killed in the order they spawned, while also dealing with the hordes of Vex trying to distract your team from the Oracles. If the oracles are killed in the incorrect order, or if they aren’t killed in time, the entire fire team will be marked for negation, potentially leading to a wipe, and definitely leading to your team needing to re-do the wave. Each wave adds an extra oracle to keep track of, up to a total of seven oracles to find and kill in the correct order. Thankfully, the seven oracle spawn locations are consistent, with three spawn locations on the right side of the map, three spawn locations on the left side, and one spawn point in the middle. Once the final wave of Oracles has been slain, the encounter will end, and an ancient Relic will appear in the middle of the room. Picking this relic up will awaken the Templar, and start the first boss fight of the Vault.

The relic replaces your currently held weapon, and has its own move set. There is a Light Swipe and a Ground Pound attack, blocking will activate a shield bubble around your guardian, and the relic has a long range super projectile attack. When the relic is picked up, waves of Vex will pour into the room, and 3 new oracles will spawn into the room, which must be killed in the same order they spawned, just like in the previous battle. And just like the previous battle, the cost for getting the puzzle wrong is marking the entire fire team for Negation and needing to restart the wave. During this Phase, the Templar will be completely covered in a shield of invulnerability. When the oracles have been killed, and the relic holder has charged the super, the guardian will have to target the Templar with the super in order to temporarily disable the templar’s shield. This begins the damage phase of the battle. During this phase, the Templar will occasionally detain a guardian. This will surround them in a bubble they cannot break out of from within, another guardian from the fire team will have to break the bubble in order to free their teammate.
After being damaged, the Templar will attempt to teleport away and raise their shields. They will show their teleportation point with a white ring on the map. If a guardian stands in the ring, it will turn from white to red, and the Templar will be unable to teleport there. If the Templar is allowed to teleport, they will be able to put their shields back up and start a new invulnerable phase. Once again, three oracles will need to be killed in the right order, and the relic’s super will need to be used on the Templar in order to return to the damage phase. If the Templar is not allowed to teleport, the ring will disappear, more vex will pour into the room and the damage phase continues until the Templar tries to teleport again. Whatever the strategy your fire team employs, you’ll want to rinse and repeat until the Templar’s last breath. Then it will be time to brace yourself to dive deeper into the Vault, starting with the Gorgon’s Maze.
The Gorgon’s maze is not something you and your team can fight through. Gorgon’s patrol the maze regularly, and if their gaze rests upon you, your team will wipe. Attacking them from behind won’t help, and the use of weapons at all has the possibility of attracting their attention, so stealth is the best chance your team has for survival. Limit your use of sprinting and double jumping while close to the Gorgons, and don’t use your weapons or supers at all unless you know your team is in the clear. Staying up high is a good option, as the Gorgons stay towards the cavern floor, but make sure to keep an eye out for the cave on the far side of the map, as that is where your team will exit the maze.
A small jumping puzzle consisting of disappearing platforms awaits your team as you exit the maze. A quick hop to the ledge on the opposite side of the gap will take you to the door to the next encounter, and the last room of the Vault.
As your fire team enters the Gate, they will immediately have to defend themselves from the vex, led by a gatekeeper hydra. Killing the hydra will spawn a relic. This relic cannot be dropped for more than 10 seconds without causing a wipe, but aside from this it mostly acts the same as the relic from the Templar fight. When there isn’t a living hydra in the Gate, the two portals in the room can be used once their corresponding plate has been activated. Your team will need to activate both gates in order to defend the confluxes on either side. The left gate brings you to Mars, the right gate brings you to the surface of Venus. The relic holding guardian shouldn’t go through the portals just yet, but whoever is should keep in contact with their teammates in the Vault.
The teammates in the Vault should keep on alert, as Vex will attempt to take back the plates, stranding your teammates on the other side of the portal until you regain control. The teammates portal-side need to keep an eye out for what mini-boss is coming for them. One side will spawn a Wyvern, which can be taken care of without outside help, but one side will have a Minotaur, and this can only be killed once the guardian with the relic uses its super against it. After doing this, the one holding the relic should switch with the other guardian, as passing through a portal while holding the relic prevents you from passing through another portal for 45 seconds. The new Relic guardian should head back into the vault and pass the relic off to another guardian, as an identical minotaur will soon spawn at the other portal, so a fresh guardian will need to use the relic super on it. This will happen multiple times, all the while new vex and gatekeeper hydra will spawn, just to keep things interesting.
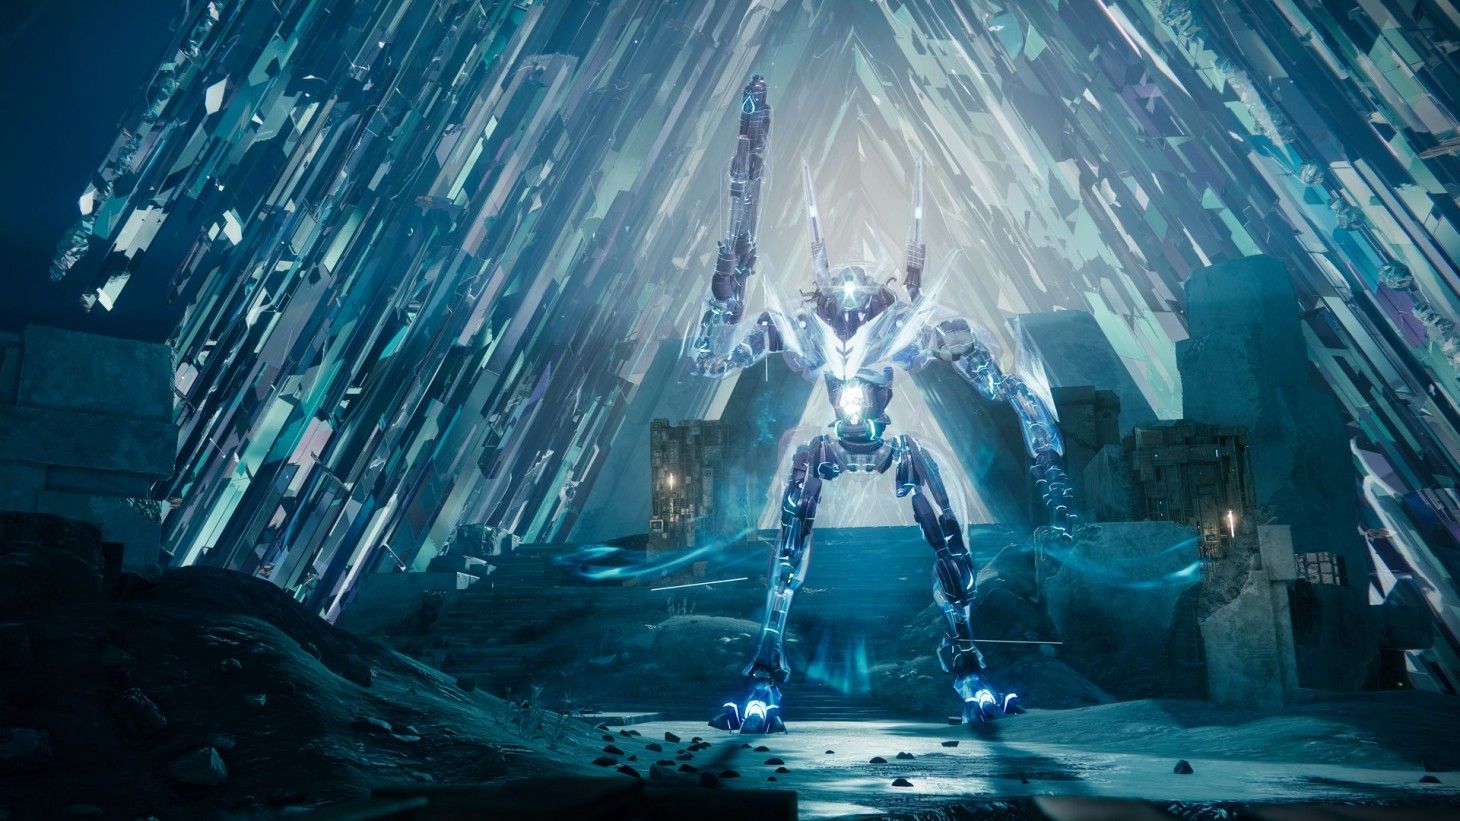
Eventually, enough blood will be spilled to activate a new conflux in the vault, notifying the fire team when it does. This is the sign for everyone to return to the vault and defend the Conflux at the foot of the Glass Throne. Once every last Vex has been brought to its knees, it’s time to steady yourself guardian, Aetheon wakes.
It has all led up to this. From the moment your team put boots down on Venus, through each wave of Vex. Each Relic used and Oracle slain, each Gorgon evaded and Conflux defended has been to get here. And now here you are Guardian. Under the all seeing gaze of Aetheon.
Are you prepared?
Upon spawning into the room, Aetheon will immediately take the offensive, firing at your team and letting loose a wave of harpies. By the time your team has dealt with them, Aetheon will send forth their supplicants, and three random members of the fire team will be sent through one of the portals, spawning on the far side of a map identical in layout to the Gate. In addition to the three Guardians, a relic will teleport to the location as well. It’s a good thing too, the relic will need to be used to cleanse the portal side guardians frequently, unless they fancy an early grave on a distant planet. Which they may get regardless, as Vex will start pouring into the area.
Meanwhile, back at the Gate, the rest of the fire team has to deal with problems of their own. In addition to opening the portal to let the portal side guardian back through, either the left portal for Mars or the right portal for Venus, they have to deal with their own waves of Vex, and keep an eye out for more oracles. But these oracles present a special challenge. They cannot be killed by the Gate guardians, only the Portal guardians. But only the Gate guardians can see the order they need to be killed in, which will require both groups to communicate, and readjust their perspectives of the map, or everyone will be treated to an instant wipe.
So while the portal guardians cleanse themselves just to see the targets they need to shoot and follow the instructions on which oracles to kill next, the gate guardians are keeping open the portal and calling out the next oracles in a way that will be understandable. And then, once the last oracle has been dealt with, the fire team will get the notification ‘Guardians make their own fate’, which marks that the portal team are clear to head back to the gate and cleanse one final time.
Now it’s time to bring the fight to Aetheon. The relic which was used to cleanse the away team can also be used to transfer Aetheon’s attacks into super energy for the entire team. But be alert, Aetheon will detain guardians, and this can lead to an accidental wipe if teammates aren’t paying attention to what effects they’re under, as detainment can only be broken from the outside. The DPS phase against Aetheon lasts for around 30 seconds, after which your team should prepare to do this all over again until you finally chip their health bar to pieces and claim your final reward.